KEY BENEFITS
Along with modern CMM head, sensor, and controller technologies, new 5-axis pathing methods from Verisurf software deliver high-performance measuring speed and flexibility. Furthermore, it’s achieved while avoiding the speed-versus-accuracy compromises inherent with conventional methods.
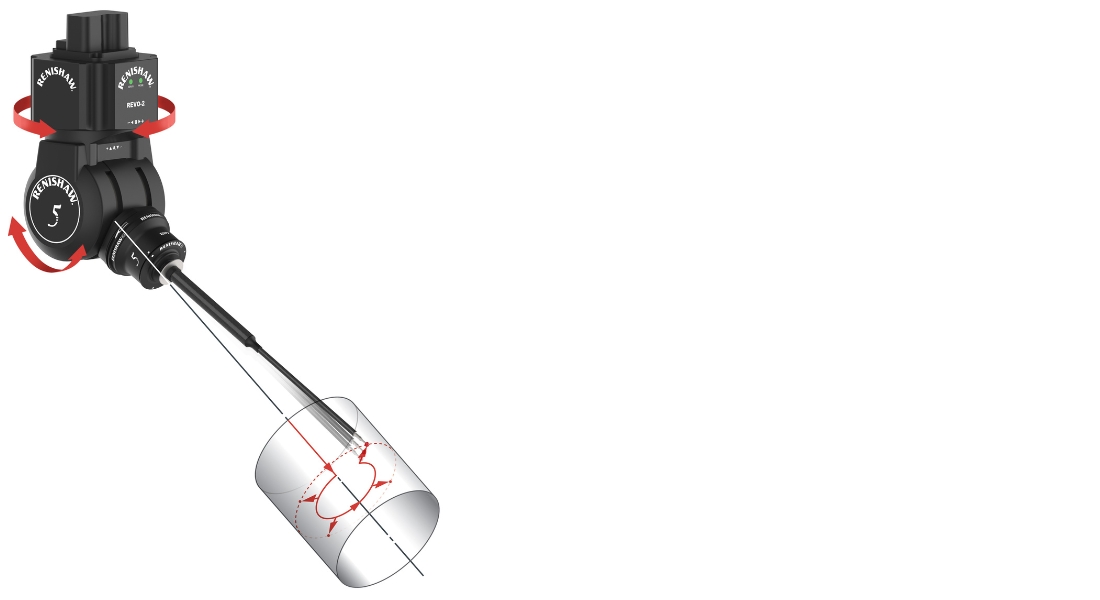
Five-axis motion allows the stylus to follow a continuous path along complex contours without leaving the part surface to index the probe angle or change the stylus. Controller algorithms synchronizing CMM and head motion, produce optimal probe paths that minimize dynamic errors.
There are extensive productivity gains offered by 5-axis probing, as it dramatically reduces the number of setups and special fixturing. It also allows fewer probe changes and requirements for unique probes, which are common in 3-axis probing.
5-axis measurement technology achieves 15% to 50% cycle time savings
Minimizes the dynamic effects of CMM motion at high measurement speeds
Verisurf Unique Techniques
Verisurf adds new and unique measurement techniques improving the speed and accuracy of 5-axis enabled CMMs.
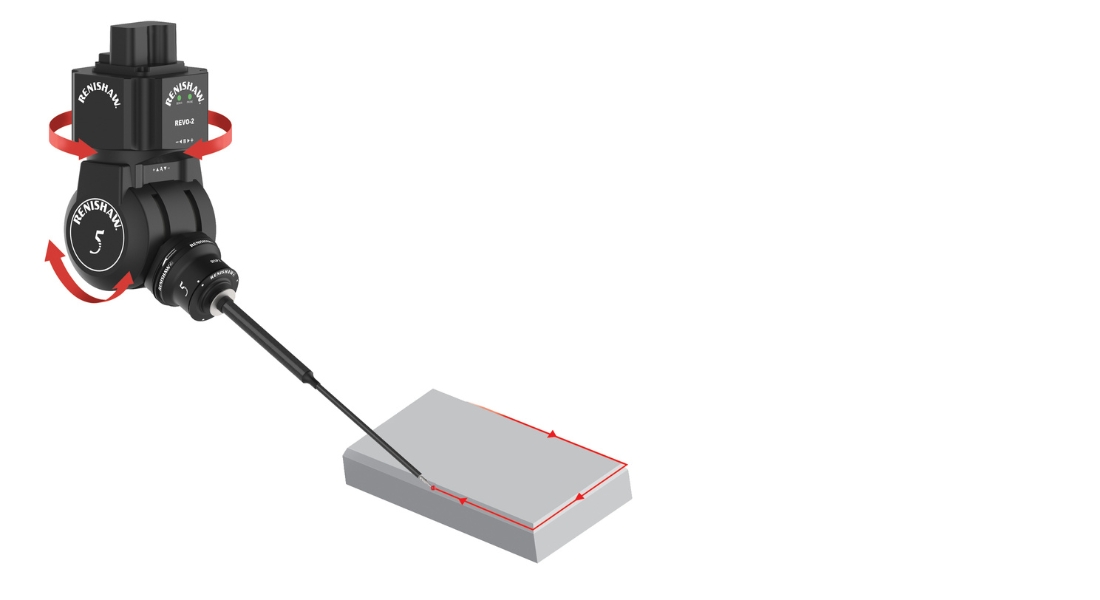
Verisurf Curve Scan
Curve scan is available only from Verisurf and automates the measurement and reporting of small transitional surfaces and edges like fillets and chamfers used to reduce sharp edges and stress concentrations. Learn more
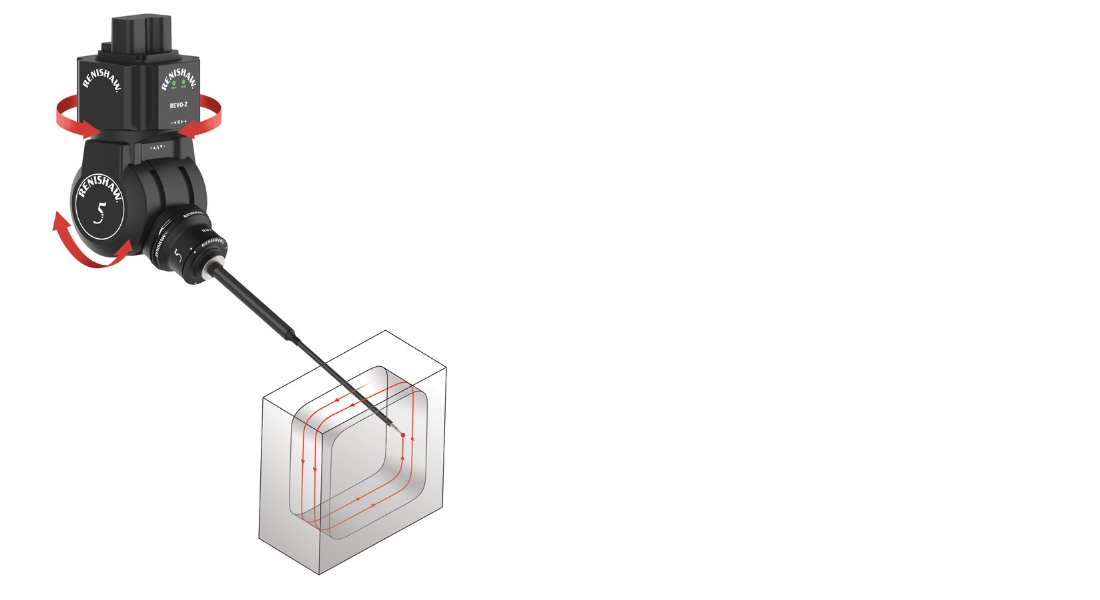
Verisurf Pocket Scan
Pocket scan is available only from Verisurf and is used for rapid and automated inspection of isogrid and orthogrid structures that stiffen and save weight on aerospace panels and pressure vessels. Learn more
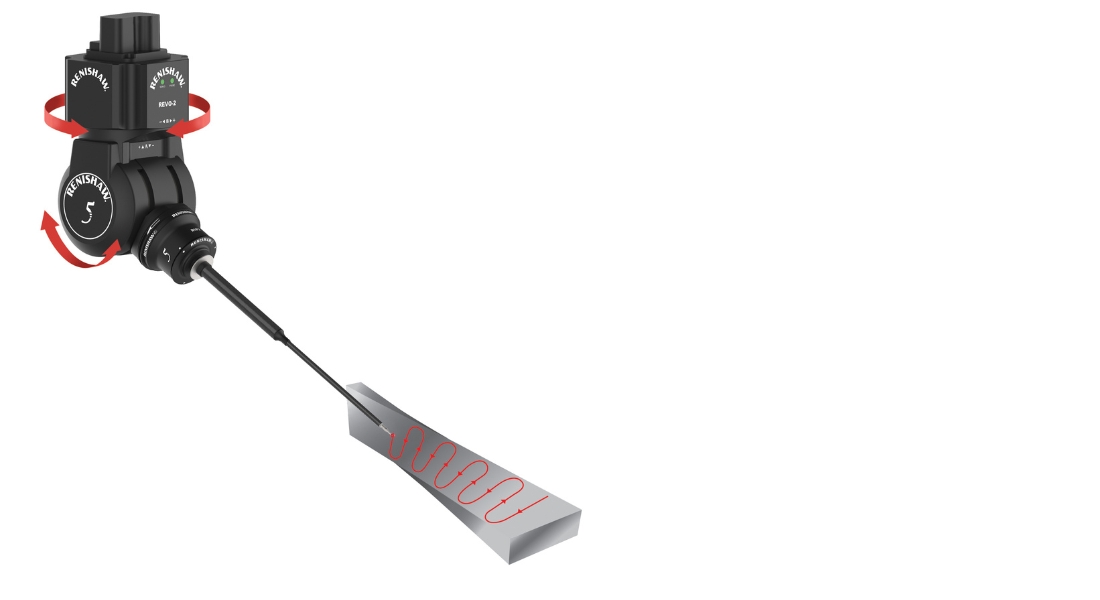
Verisurf Spiral Scan
Spiral scan is available only from Verisurf and enables CMM programmers to accurately and quickly, program and measure turbine blade or propeller surfaces while staying clear of neighboring blades. Learn more
Standard Techniques
Verisurf supports all standard 5-axis probing techniques. You can use the same program for either PH20 or REVO.
Circle Scan
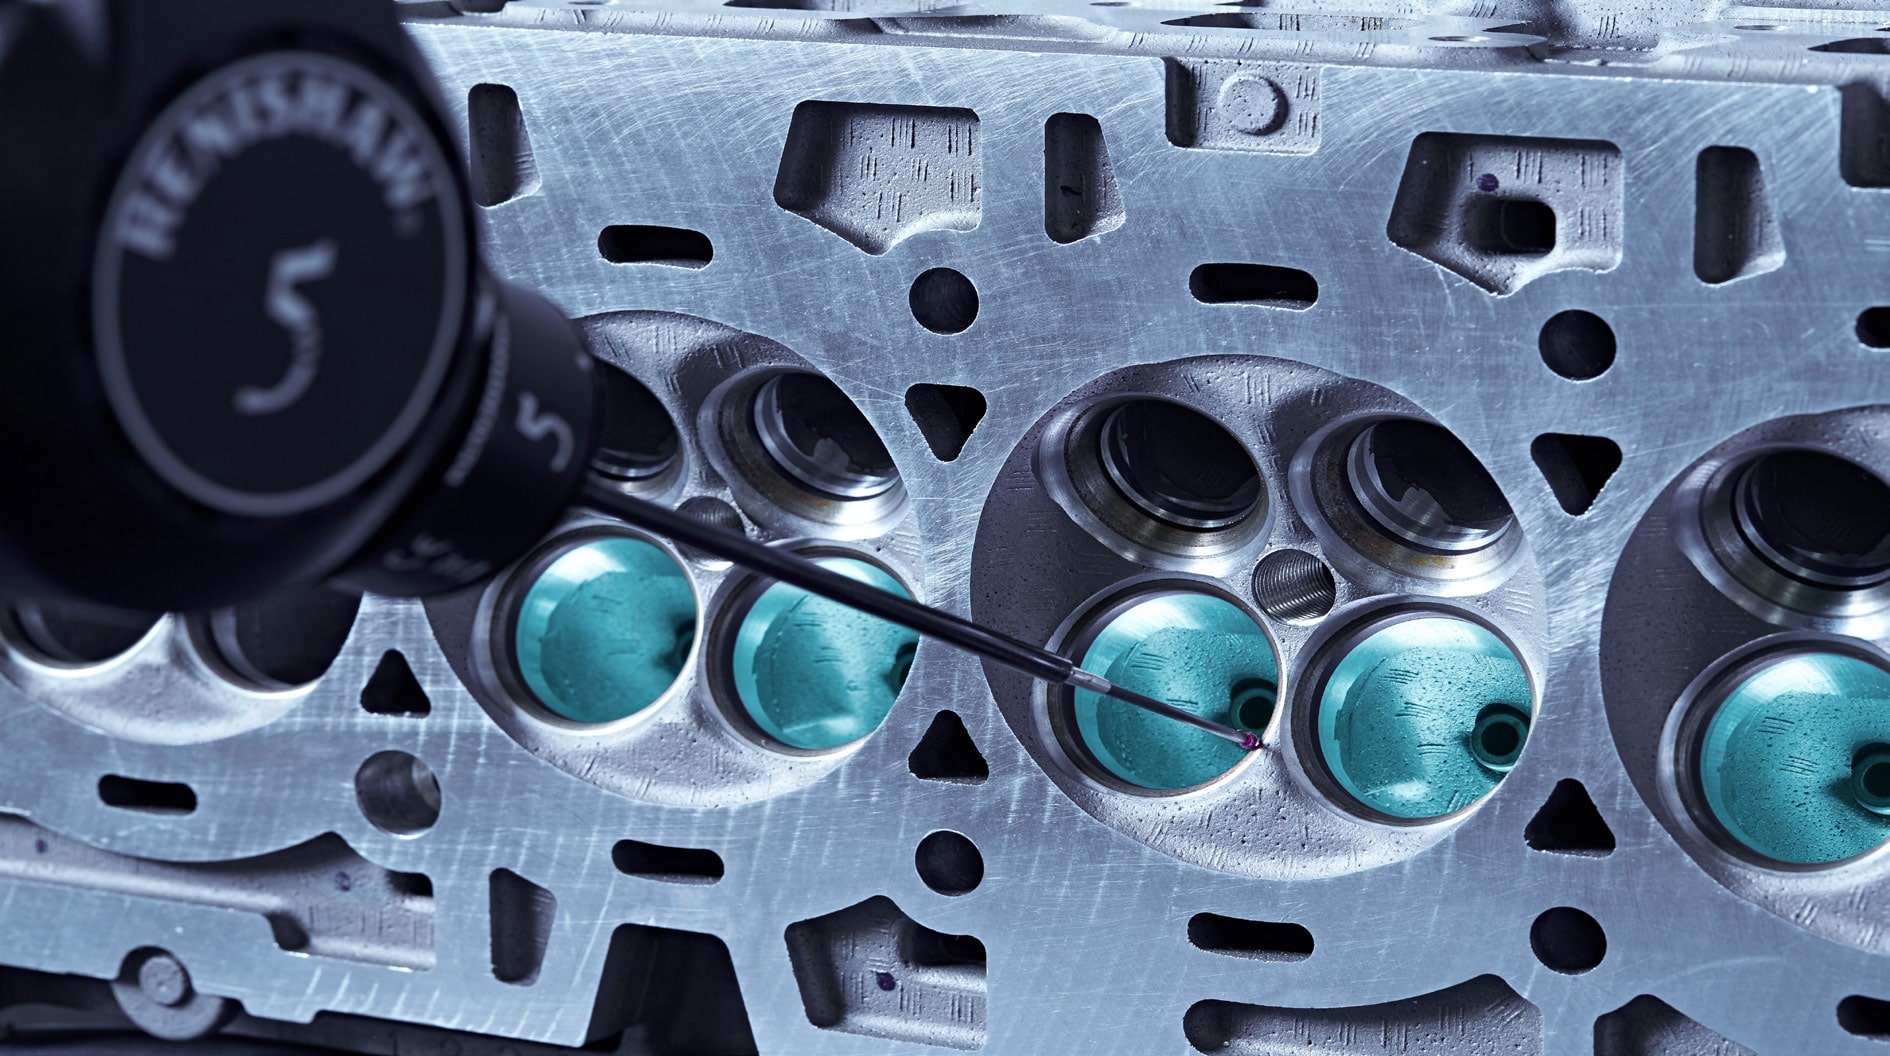
Scan circular features up to 4000 data points per second. Circular path improves accuracy by minimizing the dynamic effect of moving of all three axes. The circle scan is ideally suited for inside bores, such as engine blocks where the form is critical. Learn more
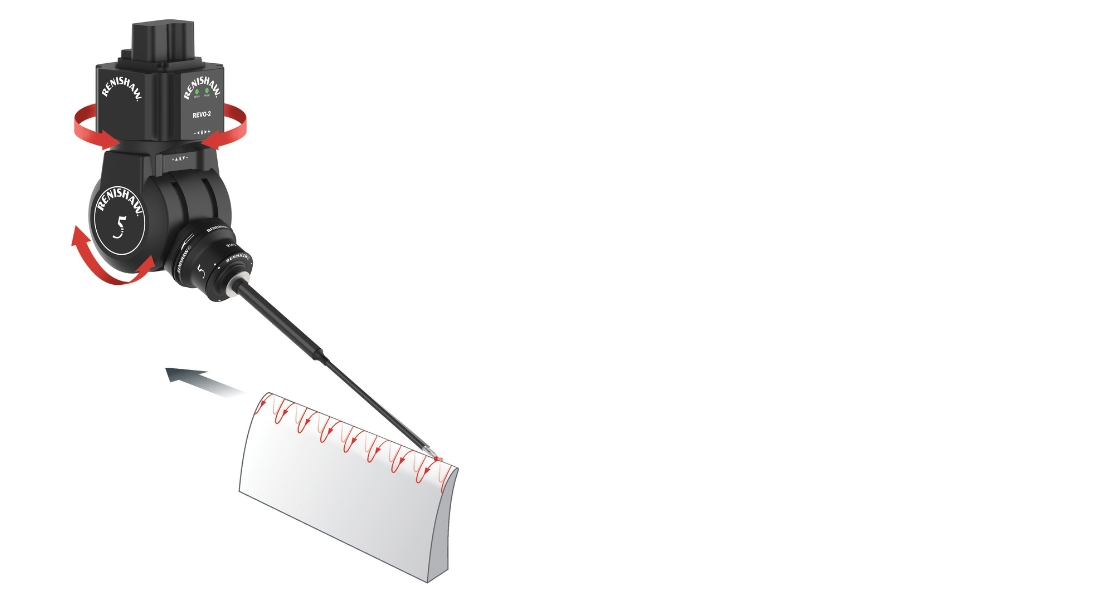
Edge Scan
Edge scan drives the CMM in a uniform direction to minimize the inherent inaccuracies of the CMM structure while the system adapts to the changing surface shape by controlling the contact pressure of the stylus. This is well suited to the measurement of airfoil surfaces. Learn more
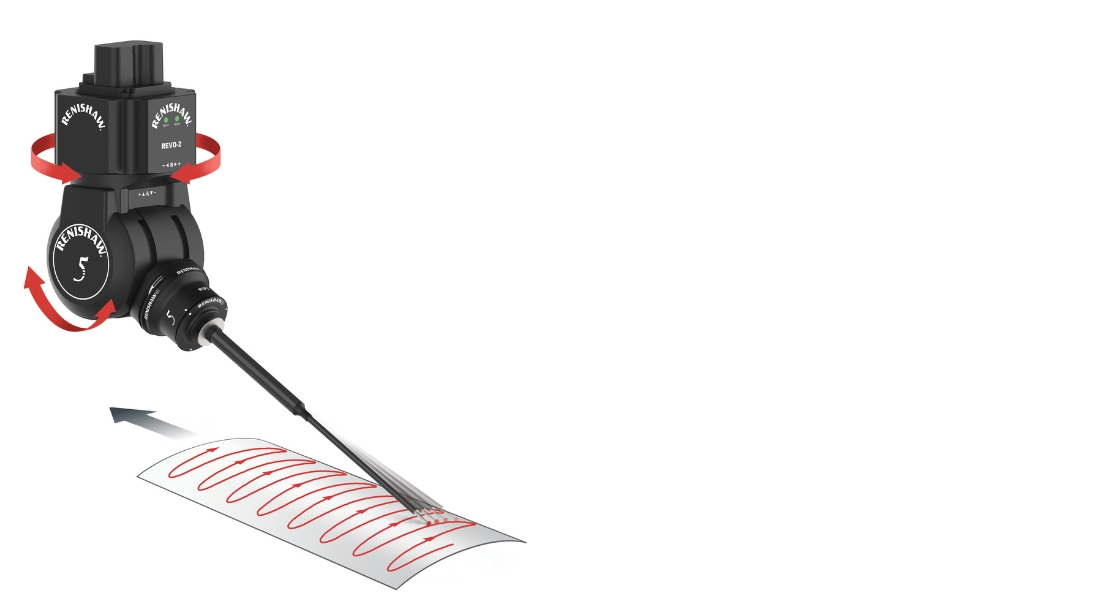
Surface Sweep
Sweep scan captures data points over a plane by utilizing a 5-axis drive system to sweep back and forth while the CMM drive system move is a singular vector direction under a constant speed. This minimizes the inherent inaccuracies of the CMM structure while scanning at high speeds. Learn more
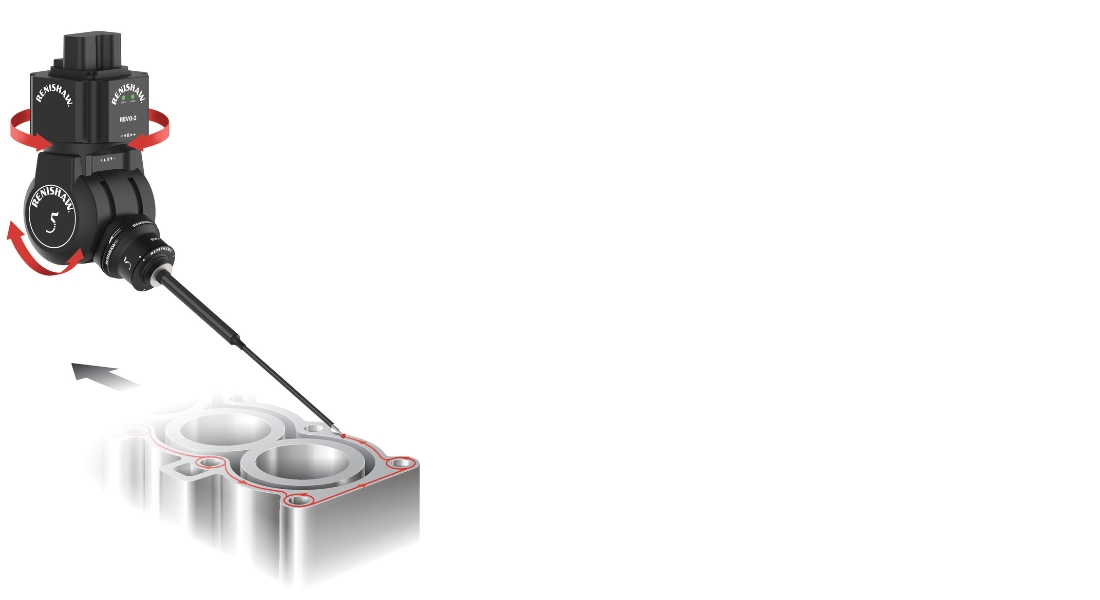
Gasket Scan
Gasket scan works under a full 5-axis motion control to follow any complex path during scanning operations. By defining target points along a path a blended path is created that captures a large data set while minimizing CMM motion. Learn more
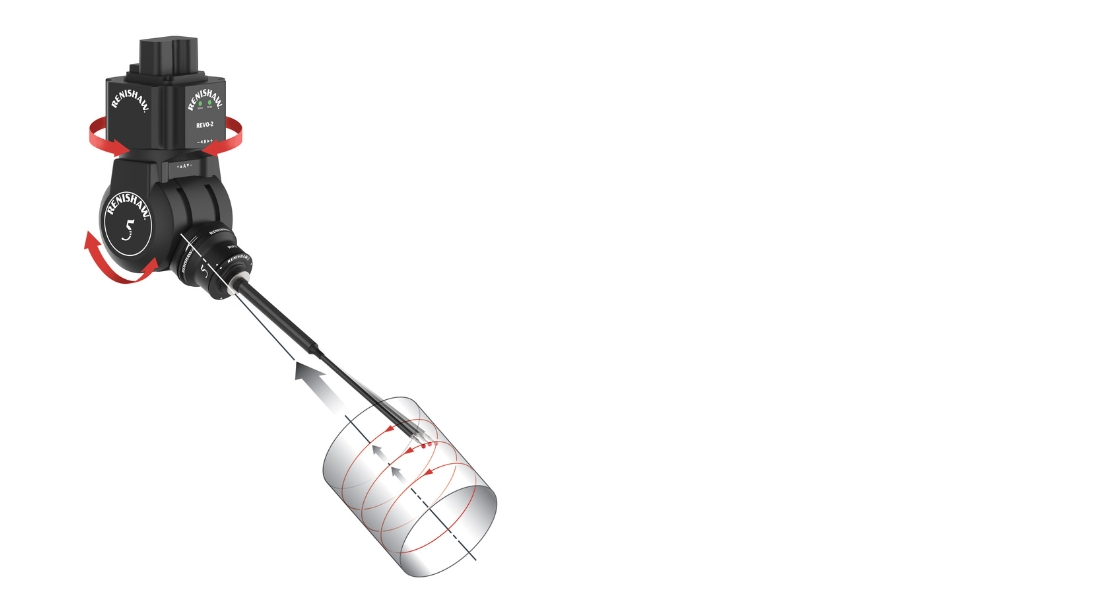
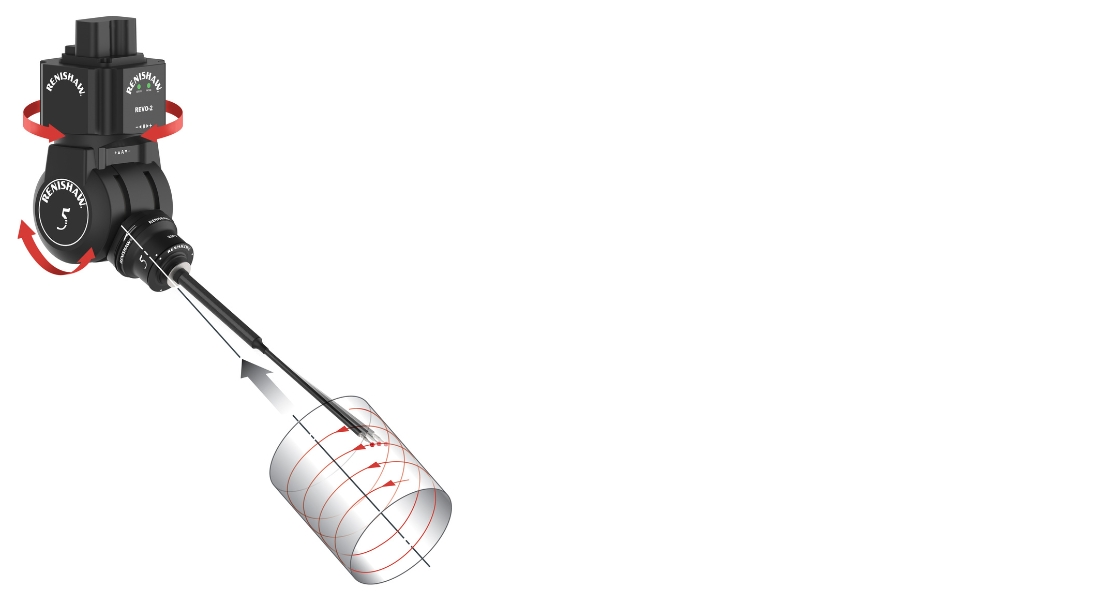
Helical Scan
Helical scan is designed to move along the axis of an inside or outside cylinder or cone. During the scanning process, the helical scan traverses along the axis at a uniform length per revolution. The effect is a helical path capturing a large data point set over the full defined length. Learn more
Head Touches
For measured features requiring position and size, discrete points are captured utilizing the performance of the 5-axis system or in combination with the XYZ axes of the CMM. Ideal technique when minimum points are required but speed of measurement is important. Learn more
Advanced 5-Axis Sensor Support
Save time with infinite positioning, high performance scanning, non-contact inspection and surface finish analysis all on a single CMM
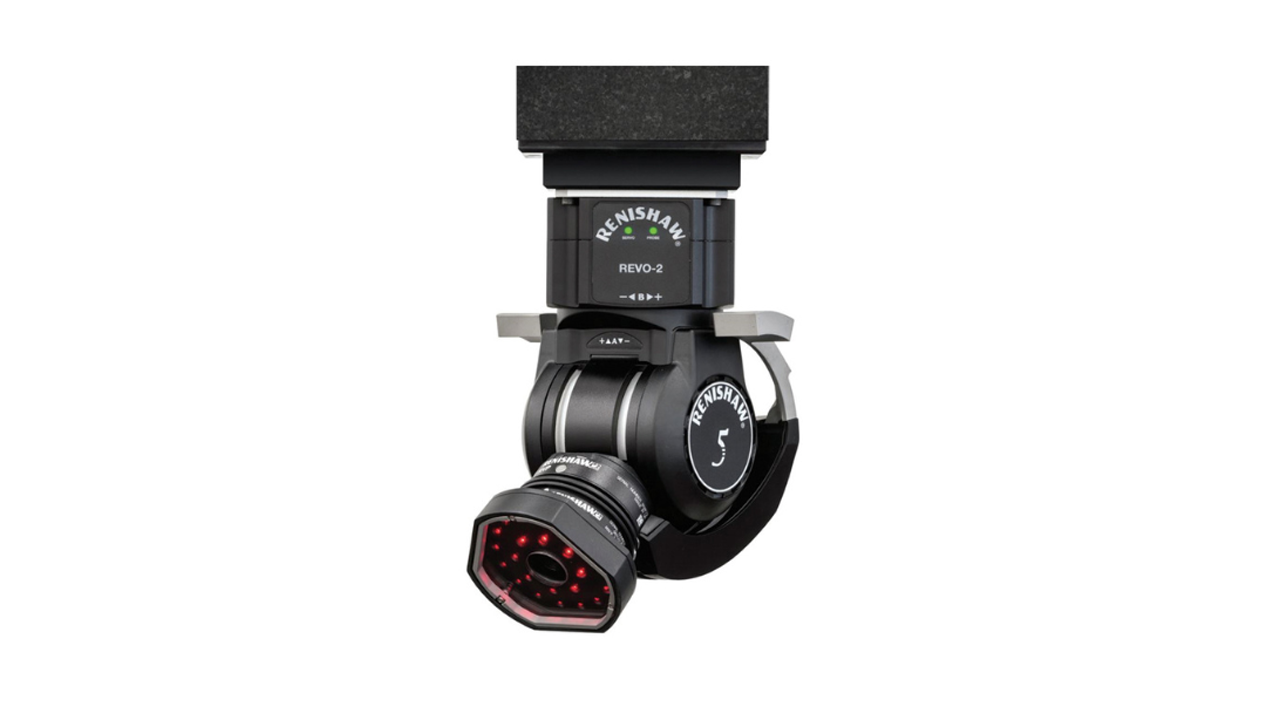
Renishaw REVO® RVP
Vision Probe
- 5-axis non-contact structured light measurement of complex surfaces
- Precise and aligned point clouds for inspection and reverse engineering
- Automatic exposure compensation for a variety of materials and colors
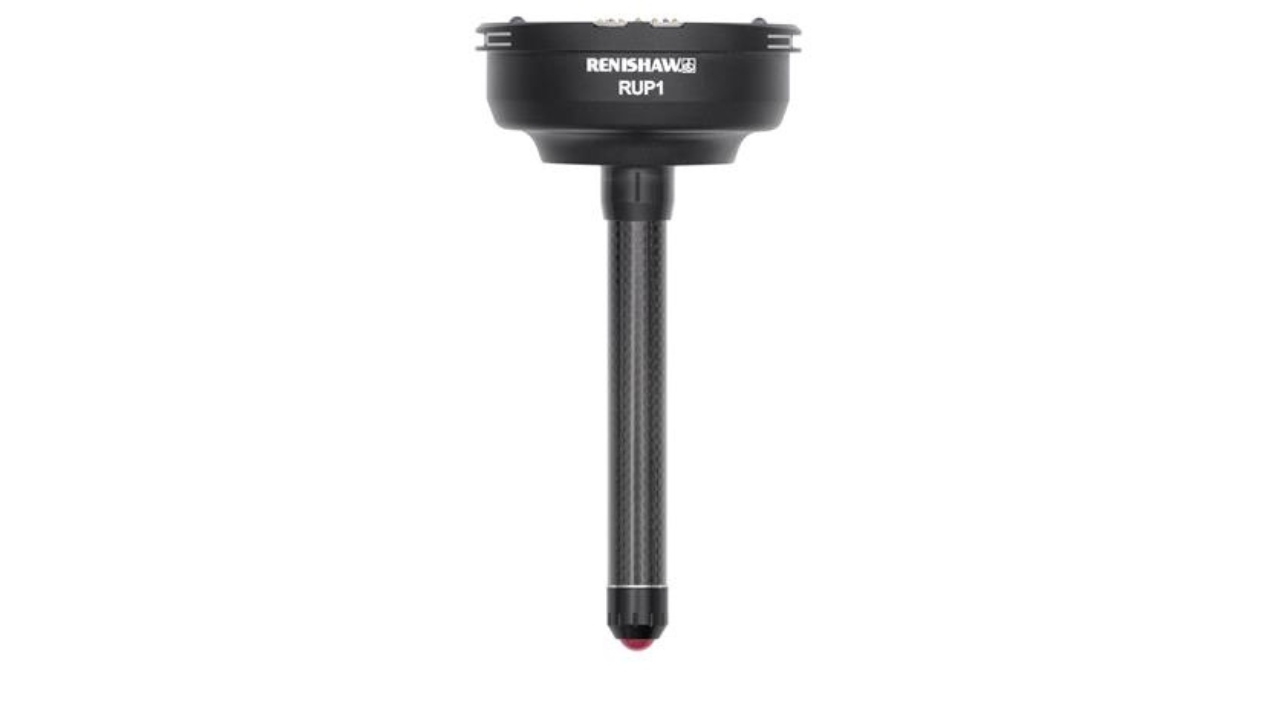
Renishaw REVO® RUP1
Ultrasonic Probe
- Automated 5-axis ultrasonic thickness measurement
- 1 mm to 20 mm thickness measurement range
- 10 micron or better accuracy using touch points
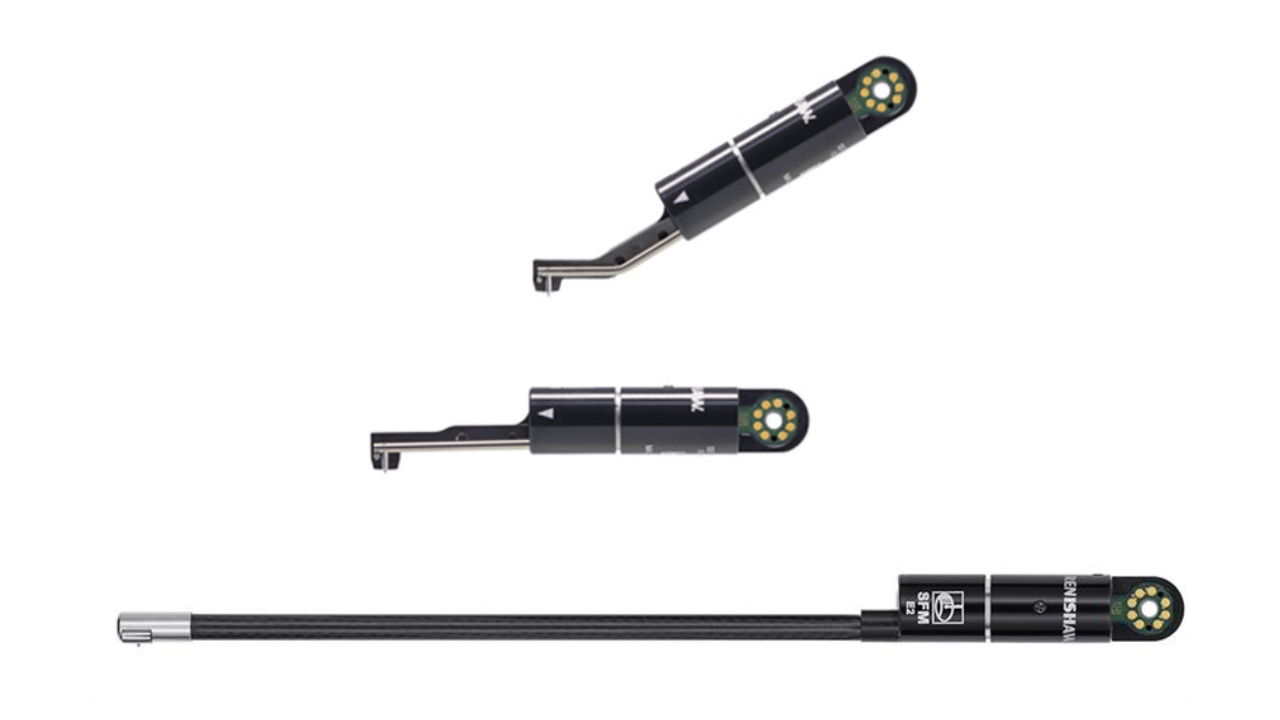
REVO® SFP2
Surface Finish Probes
- Significant time savings and reduced part handling
- Access to difficult to measure holes and pockets
- Surface finish integrated measurement reports.
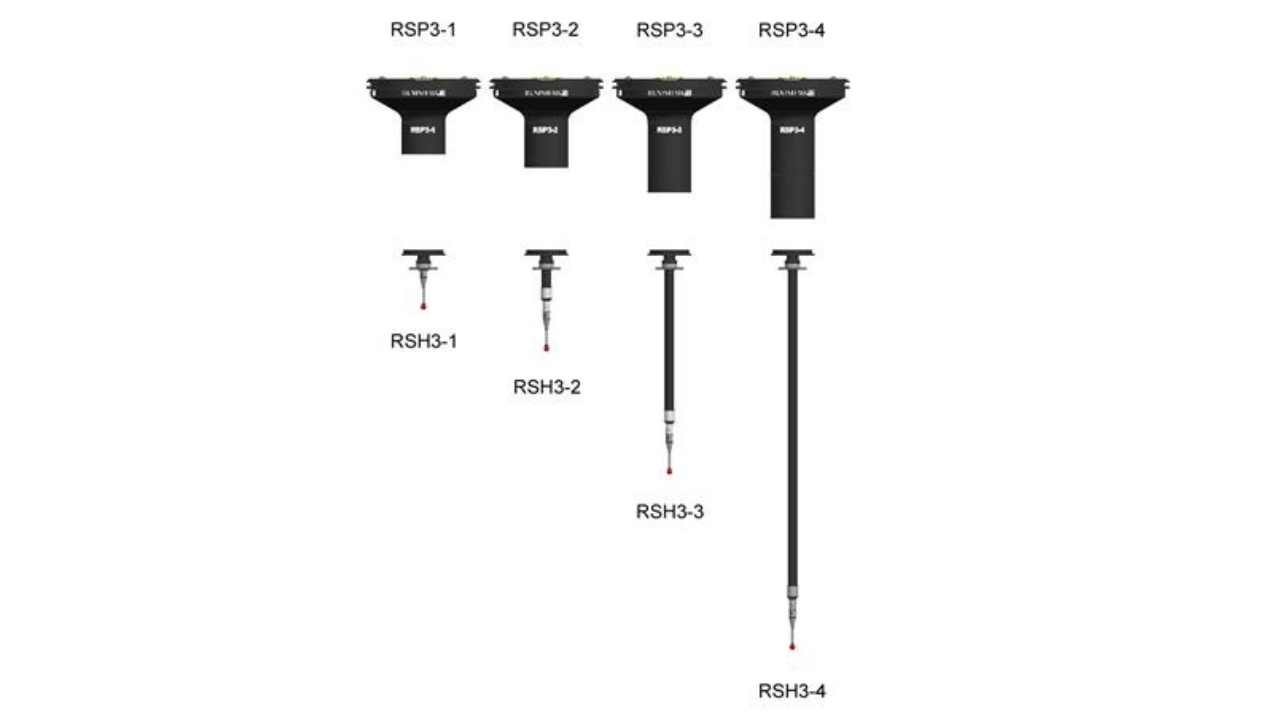
REVO® RSP3 3D Scanning Probes
- 3D-scanning (x,y,z) and crank stylus capabilities
- 3-axis scanning with fixed head angle
- Probe length variety with optimum performance
REVO® RSP2 Scanning Probes
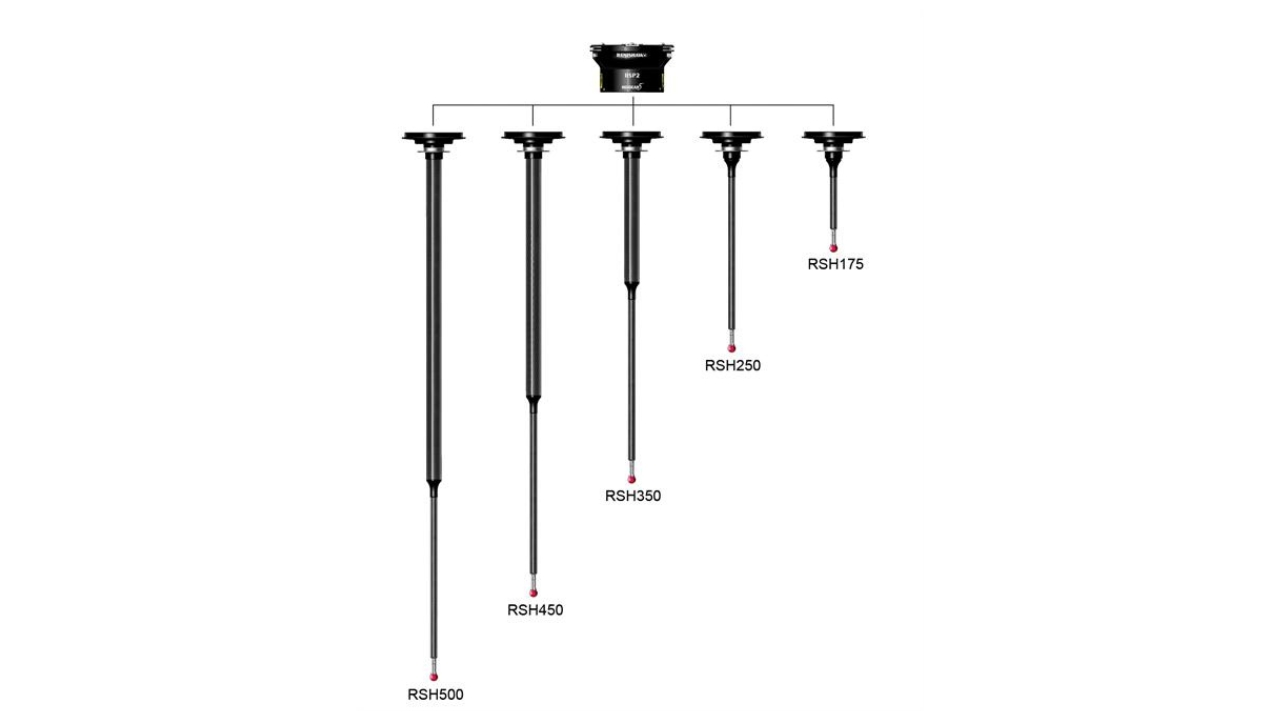
- 2D-scanning (x, y) and 3D touch-trigger measurement (x, y, z)
- Universal body for 175 mm min to 500 mm max reach
- Universal body for 175 mm min to 500 mm max reach
Infinite Positioning Benefits
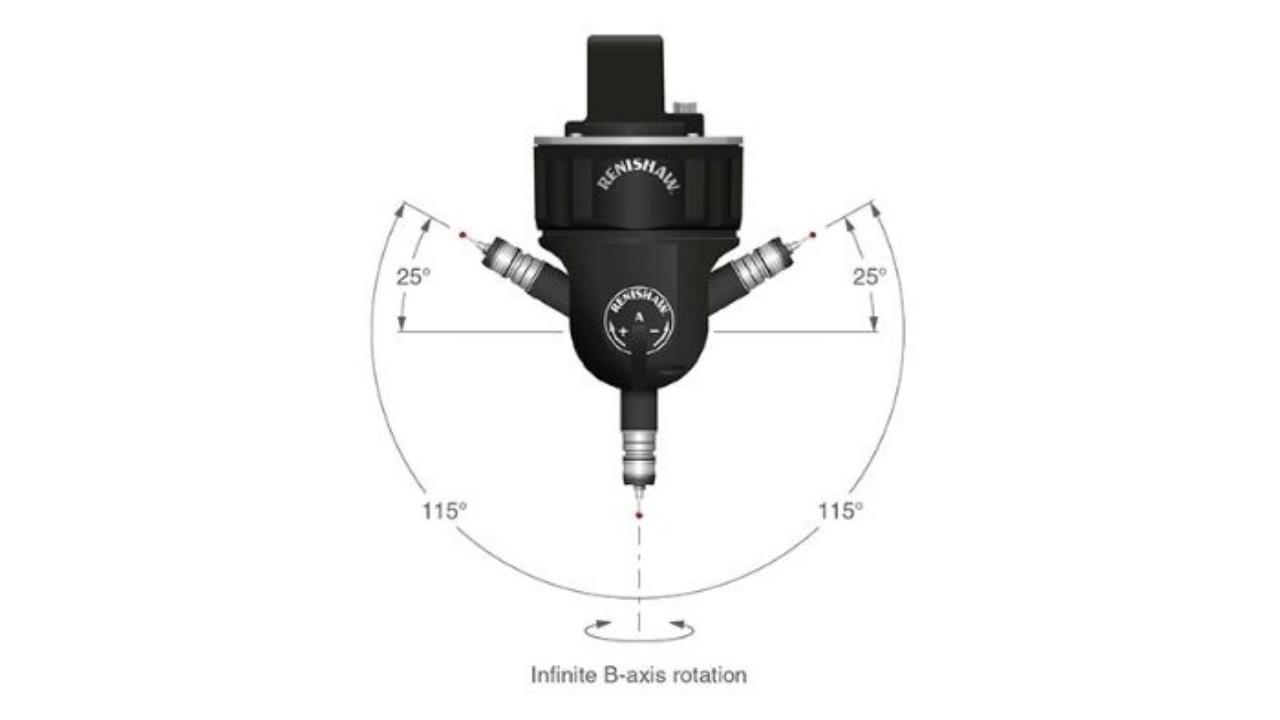
Infinite positioning guarantees optimal feature access and minimizes stylus changes while automatic alignment to the part coordinate system avoids collisions and need for fixtures. Learn more
Inferred Calibration Time Savings
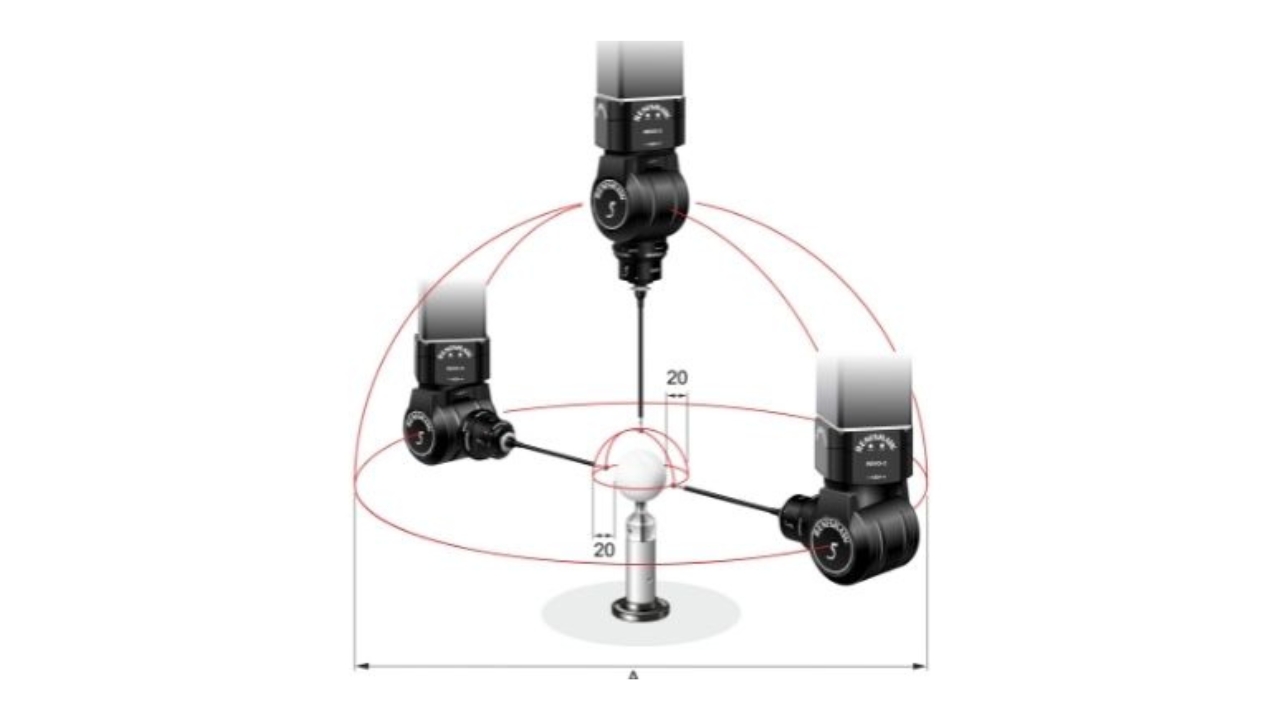
Fast “Inferred Calibration” technique determines the head orientation and probe position in a single operation, allowing subsequent measurement at any head angle. Learn more
REVO® Change Rack & Ports
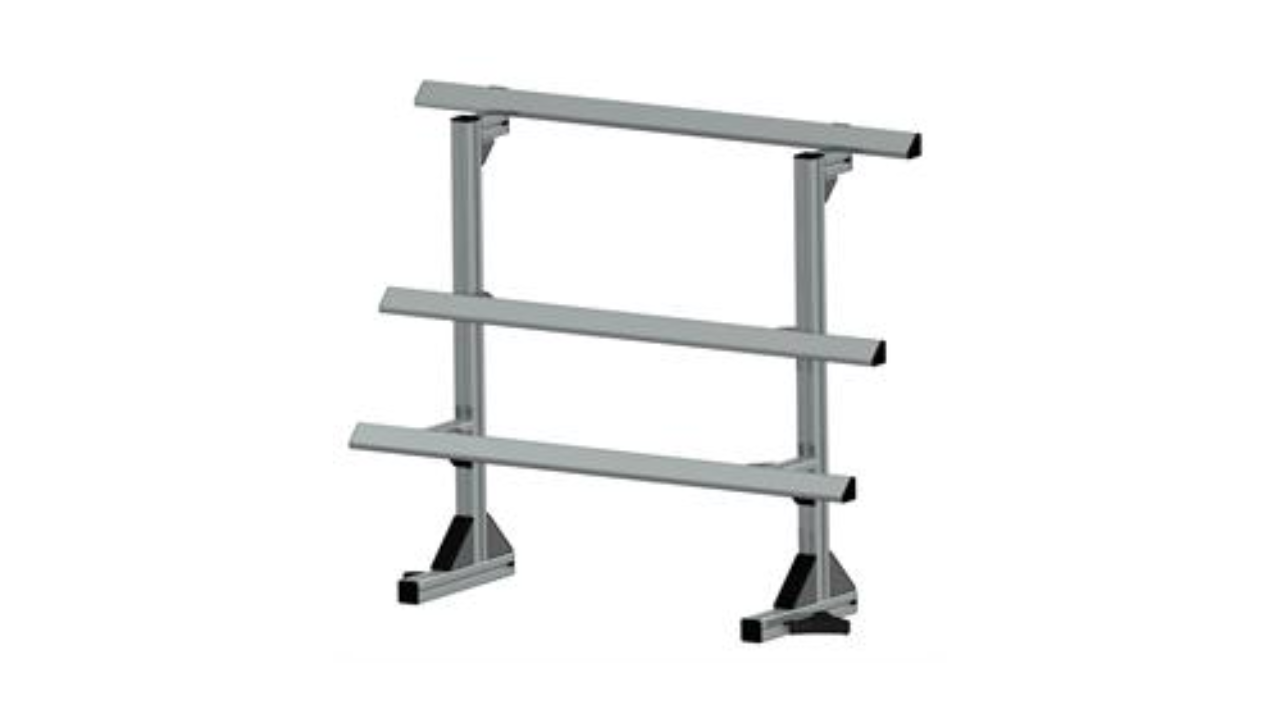
- Rail lengths of 400 mm, 600 mm or 1000 mm
- Leg in lengths of 200 mm, 400 mm, 600 mm and 800 mm
- RCP TC-2, RCP TC-3 and RCP2 for high speed changing of REVO® sensors
5-Axis Techniques for Aerospace
Aerospace parts are ideal for 5-axis CMMs powered by Verisurf. With complex surface profiles, precision fastener patterns and tight tolerances aerospace parts have thousands of holes, slots and pockets which is why moving the CMM structure less increases both speed and accuracy.
Upgrade Your CMM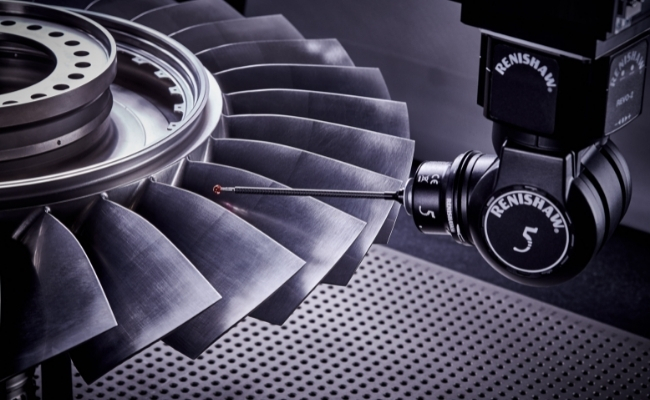
5-Axis Techniques for Automotive
Helical scanning is applied to the valve guide bore and valve seat area while adaptive scanning allows a single scan command to cover the areas above and below the critical valve seat surfaces. Combined these 5-axis techniques dramatically increase throughput.
Play Video
