Verisurf Webinars
Choose the webinar track that is right for you:
Industrial Webinars for manufacturing companies.
Educational Webinars for schools and universities.
Industrial Webinar Schedule
For manufacturing company’s large and small.
Automating Portable 3D Scanner Inspection & Quality Reporting
Thursday February 13, 2025
3 Axis CMM Programming, Operation & Quality Reporting
Thursday February 27, 2025
Portable CMM Inspection Planning, Execution & Quality Reporting
Tuesday March 11, 2025
Education Webinar Schedule
For STEM and Advanced Design and Manufacturing Programs
Inspection & Reverse Engineering with a Portable CMM
Wednesday February 12, 2025
Verisurf Metrology Education Overview
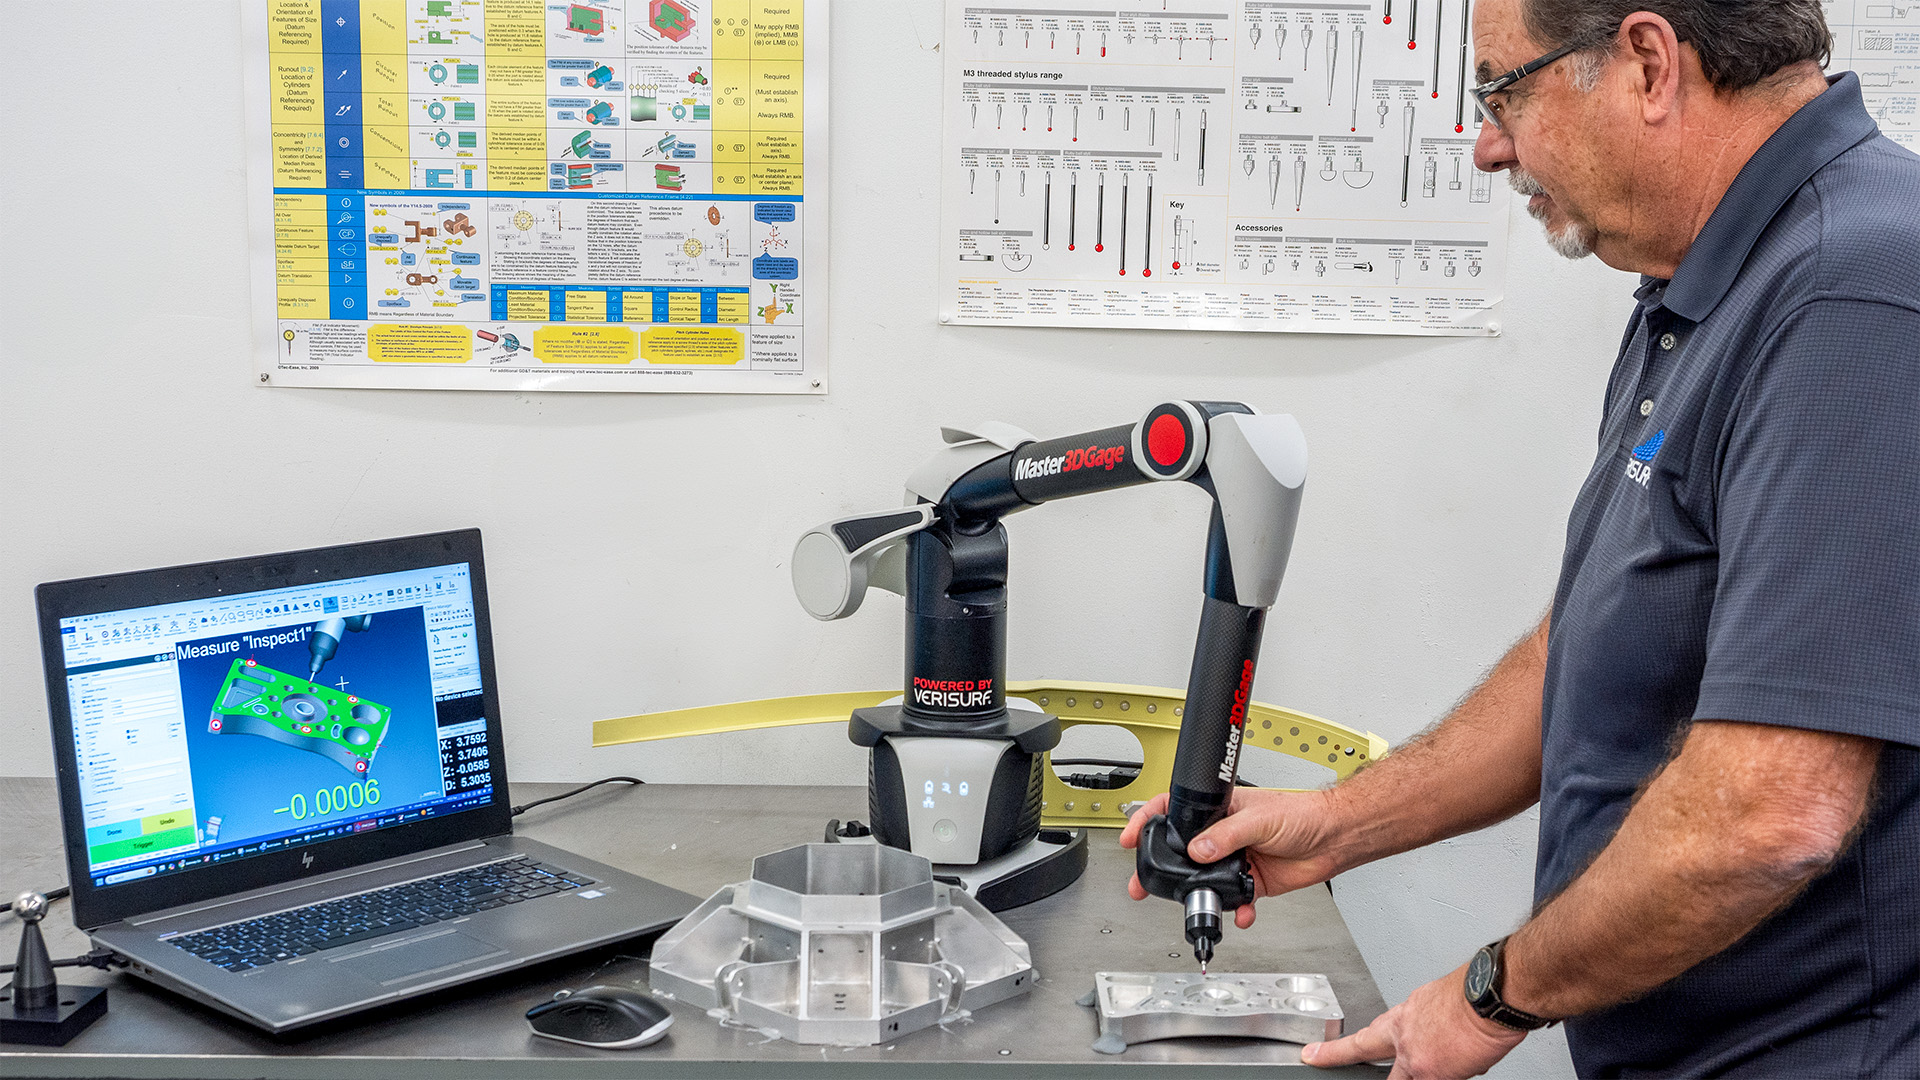
Join our webinar to explore Verisurf’s comprehensive metrology education solutions, empowering students, educators, and manufacturers with industry-aligned skills. Learn best practices in precision inspection, reverse engineering, and CMM programming, supporting advanced manufacturing demands.
Aired: Tuesday February 4, 2025
What to Expect from the Webinar
Advanced manufacturing industries are experiencing high demand for trained metrologists, creating job opportunities for technicians with dimensional metrology skills! Since 2000, Verisurf University has been training the next generation of quality control, industrial tooling technologists, and dimensional metrology technicians. Success has come from partnering with educational institutions to supplement their CNC, CAD/CAM, and 3D printing programs with dimensional metrology education. These efforts have been essential to supporting major manufacturing OEMs such as Boeing, Tesla, and SpaceX and their extensive supply chains.
This Verisurf Metrology Education Overview webinar is for students, educators, and manufacturers seeking to develop advanced manufacturing best practices in the field of dimensional metrology for themselves and/or their organizations. In this first of five 30-minute webinars, attendees will be introduced to 4 complete metrology education solutions
- Precision shopfloor inspection and reverse engineering with a portable CMM arm and optional 3D scanner.
- Complete 3D Scan to CAD solution to add Reverse Engineering to your existing Computer Aided Design program.
- Introduction to Coordinate Measurement Machine Programming, Operation, & Quality Reporting.
- Dimensional Metrology Lab for reverse engineering, tool building, guided assembly, inspection, and quality control.
5 Axis CMM Programming, Operation & Quality Reporting
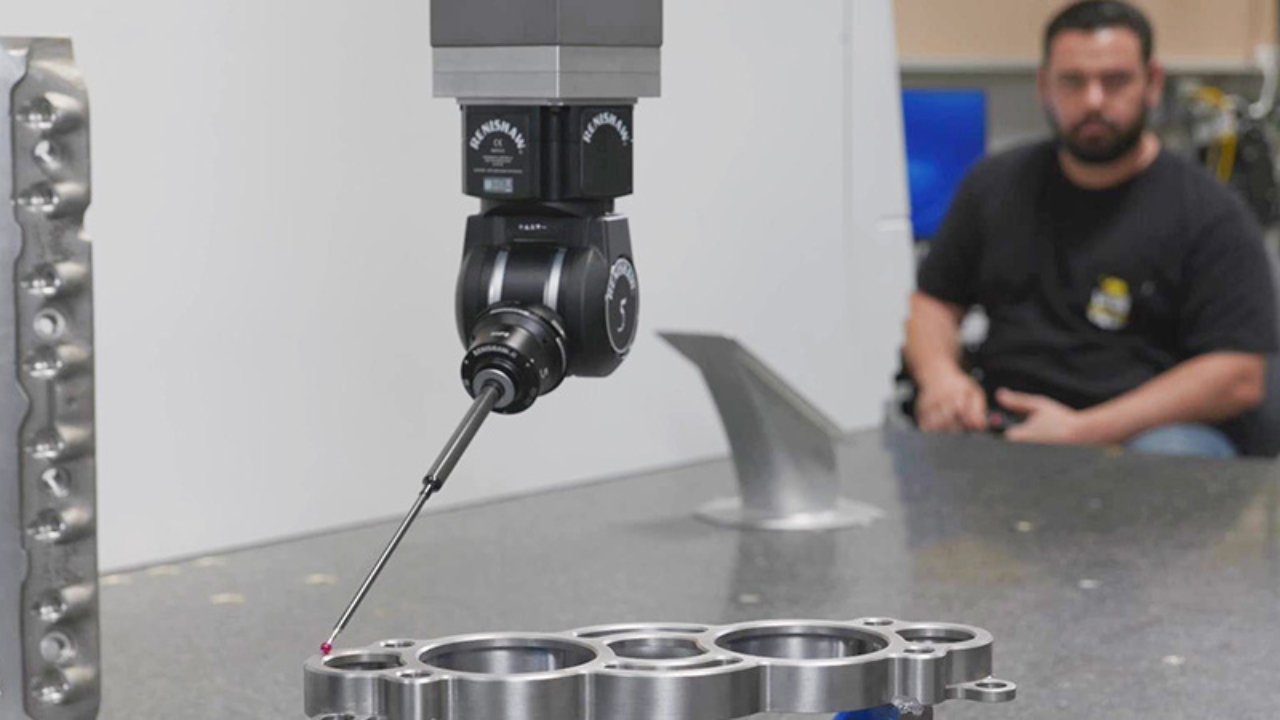
Join our webinar to explore 5-axis CMM programming, highlighting time-saving, modern probing techniques. Learn about complex path programming, surface finish sensors, easy GD&T compliance, custom reporting, and advanced capabilities.
Aired: Thursday February 6, 2025
What to Expect from the Webinar
The 5-Axis CMM Programming, Operation, and Quality Reporting webinar focuses on what is unique about 5-axis CMMs and highlights the basics of setup, path programming, and reporting.
5-Axis CMM inspection adds an articulated probe head that is able to trigger points as it articulates to contact the workpiece. This is in contrast to 3-axis probing, by far the most prevalent method used in industry, which allows rotation of the probe to fixed angles whereby the CMM takes probe hits by moving the bridge, or major XYZ structure to trigger points. 5-axis probing allows for time savings in both programming and machine cycles.
- The basics of 5-axis vs 3-axis probing, including time savings to be realized.
- Overview of path programming including geometric feature and complex surface contour profile probing.
- Introduction to surface finish and thickness measurement sensors.
- Easy GD&T accommodation, referencing, and reporting for custom output.
Inspection & Reverse Engineering with a Portable CMM (Education)
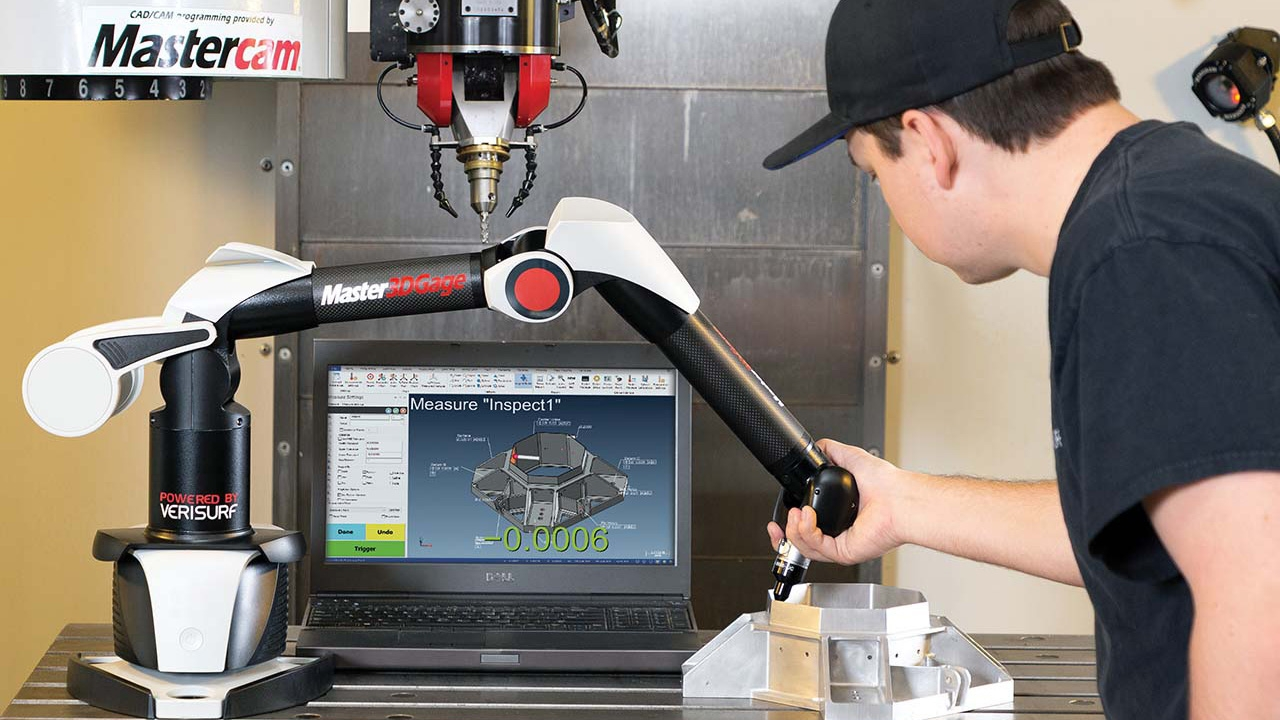
Join our webinar to explore portable CMM technologies for educational institutions, including 3D inspection, reverse engineering, and blueprint measurement workflows. Learn about essential skills which are sought after by many industry employers in job classifications where recruits are in high demand.
Aired: Wednesday February 12, 2025
What to Expect from the Webinar
The Inspection & Reverse Engineering with a Portable CMM for educational institutions webinar introduces participants to shopfloor 3D measurement technologies and the role they play in modern manufacturing. We will present skills that manufacturers are looking for in a job market desperate to fill openings. This session takes a brief look at 3D inspection to CAD, inspection from blueprints, and CAD creation from a reverse engineering workflow.
The webinar highlights the Master3DGage, the most accurate and flexible portable CMM arm available. The optional laser scanner expands the learning experience to advanced scan-based computer-aided inspection and reverse engineering applications. Portability, fast probe change technology, wireless connectivity, and magnetic mounting, make it easy to use directly on CNC machines where the part can be fixtured. The skills learned are essential for machinists, quality inspectors, and tool, jig and fixture builders.
- Inspection to CAD, importing the 3D model, setting up an inspection per the engineering requirements, and quality control reporting.
- Measurement using blueprint drawings as the inspection guidelines, the differences versus measuriing to CAD, and the similarities for reporting.
- Reverse engineering with contact probes in conjunction with CAD modeling to achieve representation of the design intent or as-built condition.
- 3D scanning with a CMM arm-attached non-contact laser scanner, meshing, and an introduction to inspection and reverse engineering with a scanner.
Automating Portable 3D Scanner Inspection & Quality Reporting
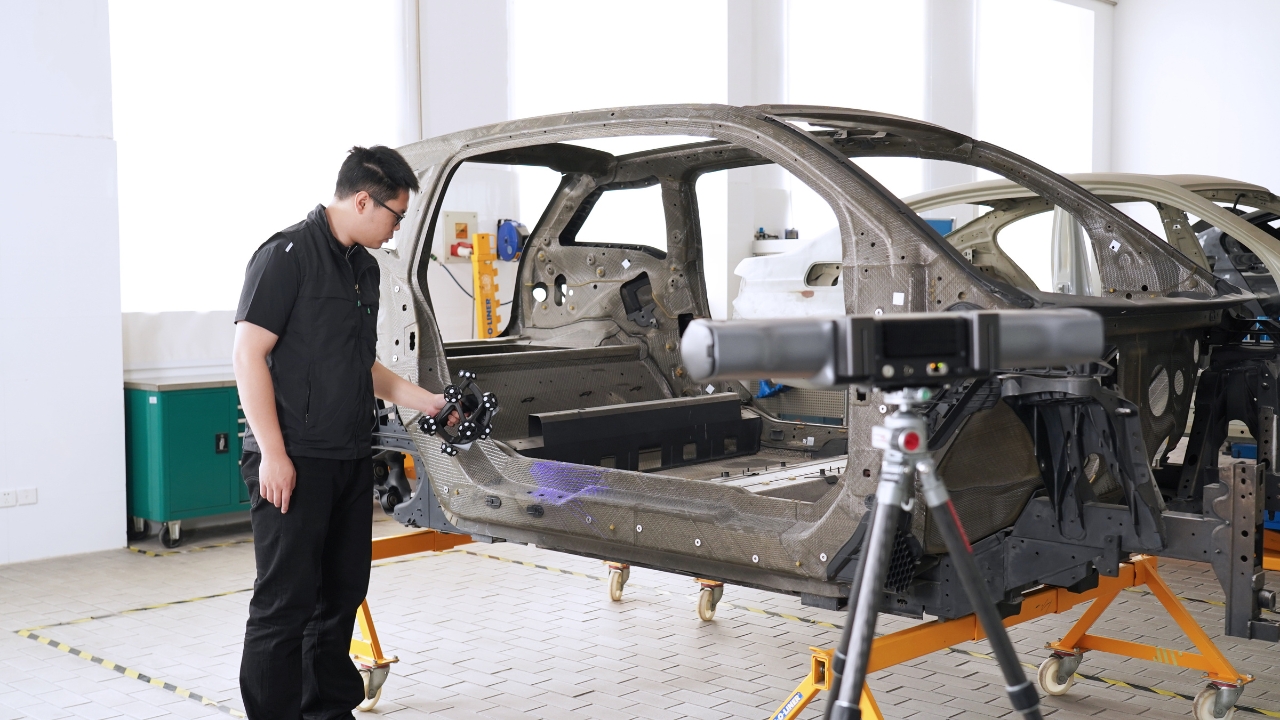
We will demonstrate how easy it can be to automate 3D scanning workflows for inspection and quality reporting. This webinar demonstrates creating plans, setting up scanned data feature extraction, configuring GD&T, and generating reports. Streamline data preparation and analysis, making complex inspections faster and easier.
Aired: Thursday February 13, 2025
What to Expect from the Webinar
The Automating Portable 3D Scanner Inspection and Quality Reporting webinar presents the fast-growing application of 3D scanning in a highly efficient, automated workflow for measurement and QC reporting. The webinar will introduce the creation and execution of inspection plans that automatically extract feature and GD&T callout measurements from scanned pointclouds.
A variety of portable scanners have become popular for their ability to gather lots of data very quickly, making measurement data from an entire inspection article instantly available for analysis and reporting. Users have found that there are a lot of data to dig through to obtain helpful information. This webinar shows the intuitive process of inspection plan creation and execution, making it quick and easy.
- A short overview of live scanning or importing of already scanned data, preparing the dataset for use in the inspection plan.
- Automatic feature extraction, manual feature picking, and building the automated plan.
- Creating point grids and other simple methods for surface profile inspection and setup for automatic extraction in the plan.
- Easy setting of GD&T constructs and relationships and building the automatically generated inspection report.
3D Scan To 3D Print To Solid Model (Education)
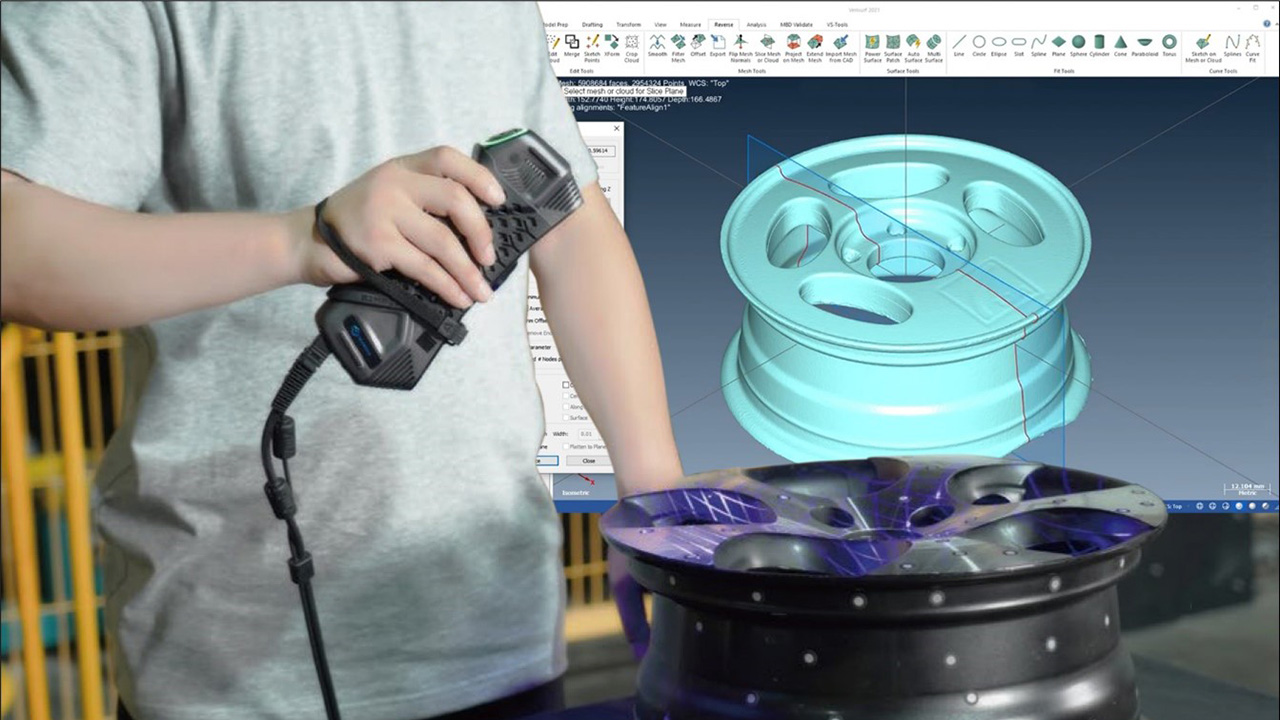
Join us for this webinar to explore educational institution opportunities to teach 3D scanning for reverse engineering, from data capture to solid modeling. Observe workflows for mesh cleanup, NURBS surfacing, solid modeling, verification, and integrating scanned data into CAD, empowering students and professionals in advanced manufacturing.
Aired: Tuesday February 18, 2025
What to Expect from the Webinar
The 3D Scan to CAD Reverse Engineering for educational institutions webinar explains how scanning reverse engineering complements both CAD and CAM at manufacturing companies, and how individuals seeking to work in this field will benefit.
The perfect addition for reverse engineering, CAD, and 3D printing coursework is the Verisurf handheld scanner system. It captures fine details, plus color, great for fast 3D scan-to-CAD with solid modeling. 3D scanning is the fastest-growing metrology application in advanced engineering and manufacturing and is reflected in both industry and education. Mastery of this application leads to industrial technology, mechanical, and manufacturing engineering jobs.
- Familiarization with the handheld scanner, best practices for scanning different types of parts, and capture and cleanup of scanned data.
- Working with 3D clouds and polygonal meshes, and workflow to manage large volumes of data in an organized manner to streamline the process of reverse engineering.
- Surfacing from meshes, preparing, optimizing, and creating NURBS surfaces for modeling complex contoured surfaces.
- Sketching wireframe from meshes for solid modeling and completing CAD for design intent.
3D Scanning, Reverse Engineering & Solid Modeling
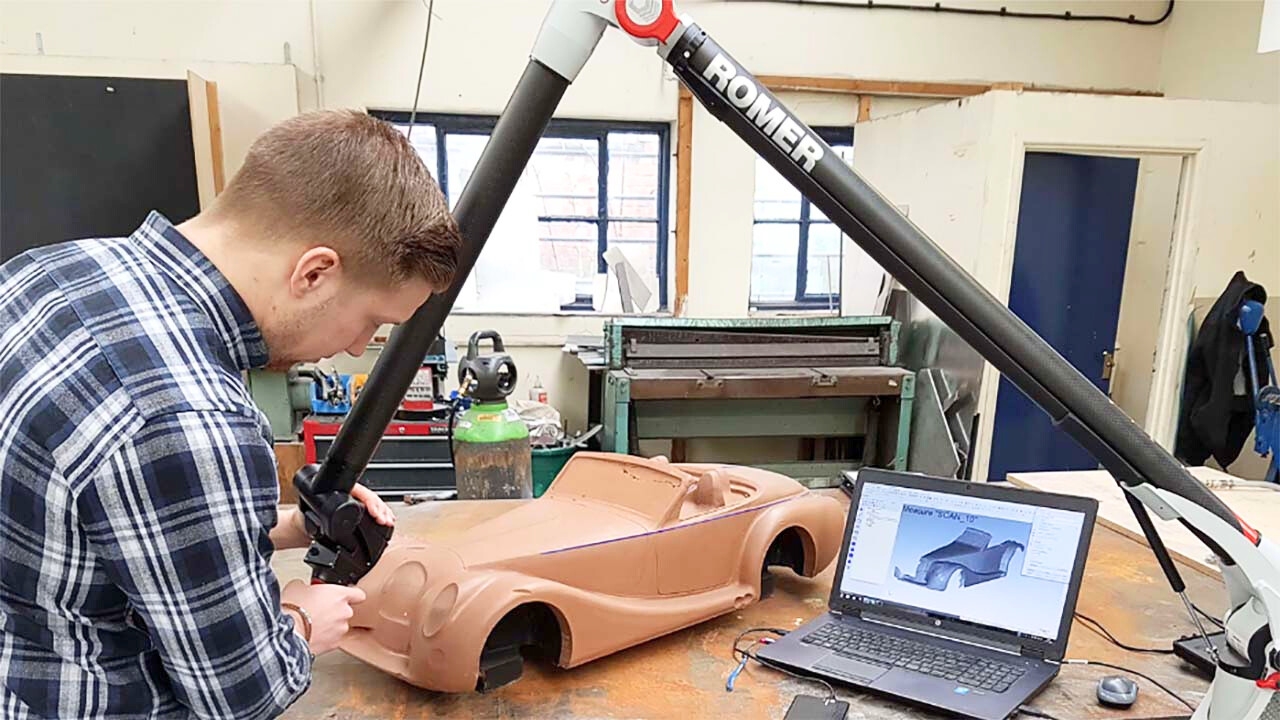
Manufacturers, in this webinar, discover efficient workflows for 3D scanning, reverse engineering, and modeling for real-world production. Clean, align, and optimize data, create NURBS surfaces, and build parametric CAD models. Ensure precise design intent with iterative scan-to-model comparisons.
Aired: Thursday February 20, 2025
What to Expect from the Webinar
The 3D Scanning, Reverse Engineering & Solid Modeling webinar illustrates the streamlined process of scanning, data handling, and reverse engineering of manufactured parts.
Three-dimensional scanning is now commonly used for reverse engineering complex parts, as it quickly images the complete outer surfaces of a workpiece. The majority of the work involves getting from a scanned cloud of points or the typical alternative 3D mesh to fully modeled CAD. This webinar highlights the steps in the workflow and presents our large toolset of features and functionality to simplify and speed up the process.
- Scanning and importing point clouds or 3D meshes, clean up, alignment, segmenting, and optimizing the dataset.
- Working with 3D meshes and creating NURBS surfaces for modeling complex contoured shapes.
- Sketching wireframes from meshes towards full solid, parametric modeling.
- Comparing the scanned data to the emerging model, plus the iterative process for fully completing the “design intent” model.
CMM Programming for Advanced Manufacturing Education
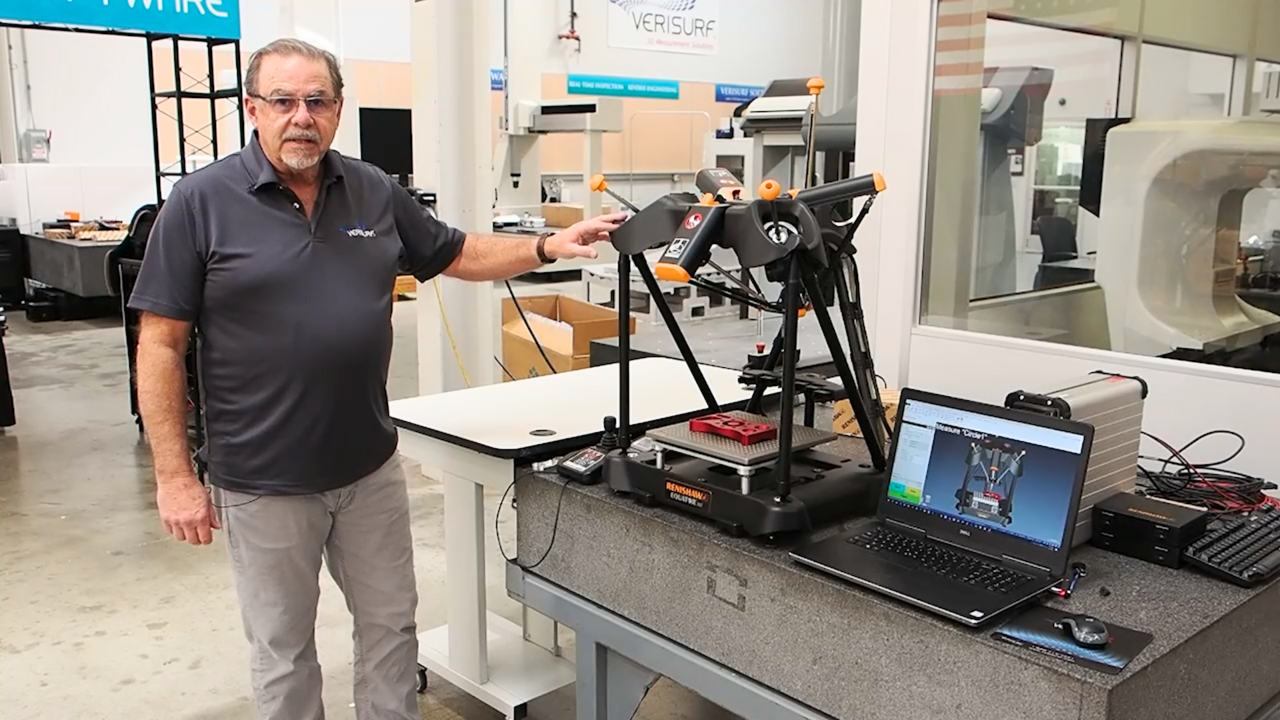
Join our webinar to learn educational institution opportunities for training CNC CMM programming and shopfloor inspection techniques for advanced manufacturing. Discover the CMM Master, a CVM-mapped Renishaw Equator, optimized for automated precision in real-world environments. Observe path programming, process control, and reporting.
Aired: Tuesday February 25, 2025
What to Expect from the Webinar
In the CMM Programming for Advanced Manufacturing Education webinar, participants will experience programming and operation of a CNC CMM for the shopfloor, giving them an overview of the skills they can offer manufacturers for work cell automated inspection.
Verisurf transforms the Renishaw Equator into the CMM Master with a unique cubic volumetric mapping (CVM) process resulting in a precise, repeatable CMM optimized for automated shopfloor inspection. Unlike traditional stationary CMMs, the CMM Master can be cart or table-top positioned next to your CNC machine. It does not require compressed air or special electrical power. Ask about the NIMS and Titans part inspection options. Experience leads to CMM programming and quality engineering jobs.
- Introduction to the the CMM Master, a CVM-mapped Renishaw Equator, CNC CMM designed for operation in the shopfloor environment.
- Inspection path programming for CAD-based definition as well as drawing-based part definition scenarios.
- Feature-based programming, optimization, and time saving techniques, plus complex contour profile path programming including dynamic point grids.
- Setup of automatic inspection reports for repeatable process control.
3 Axis CMM Programming, Operation & Quality Reporting
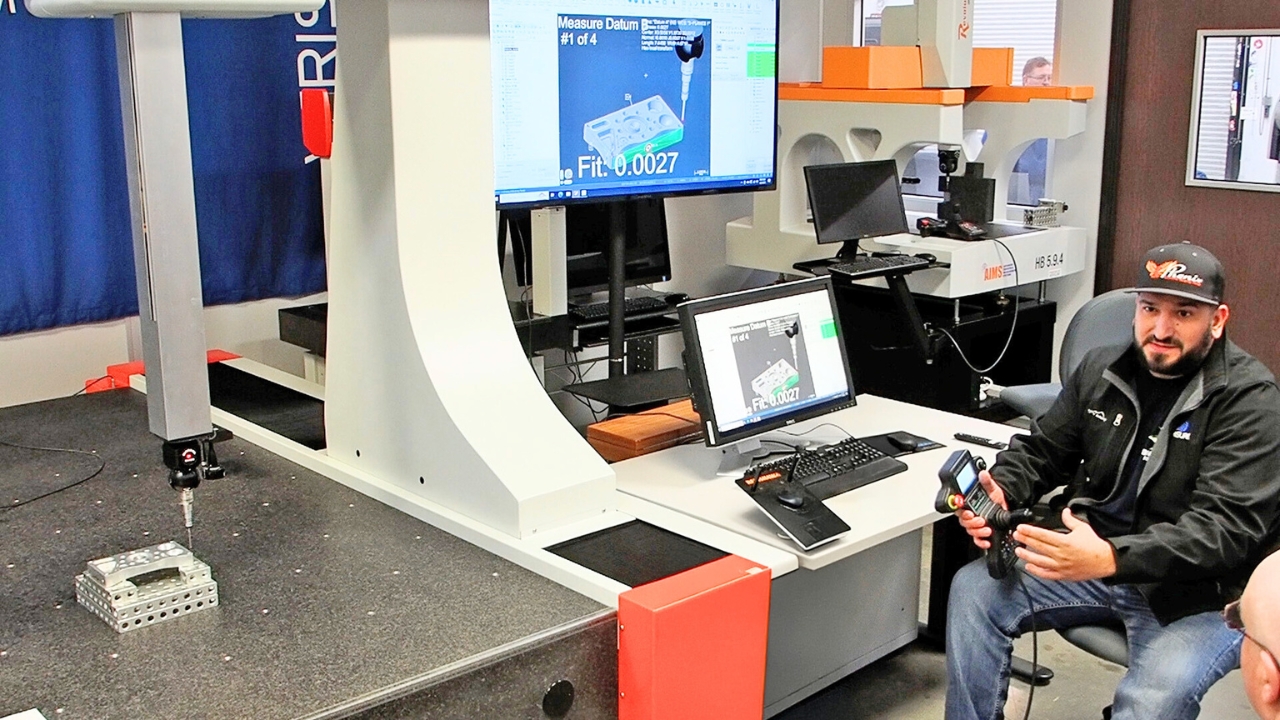
Join our webinar to explore intuitive solutions for 3-axis CMM programming and quality reporting. Discover how to optimize programs with time-saving paths with easy, collision-avoiding workflows. Learn to implement automated inspection reports, GD&T applications, and advanced reporting techniques for greater process efficiency.
Aired: Thursday February 27, 2025
What to Expect from the Webinar
The 3-Axis CMM Programming, Operation & Quality Reporting webinar shows how Verisurf provides an intuitive, efficient solution to the historically resource-consuming task of creating, refining, and operating CMM programs and reports.
The aspect of CMM operation where organizations can streamline the most is with their CMM programming software. Increasing productivity by reducing programming time and cycle run times can create opportunities for process improvement and added value for customers. In this webinar, we will demonstrate the modern, graphical, easy-to-learn user interface, plus automatic path programming functions, thereby cutting programming time.
- User interface walkthrough, features of a CAD-based platform with universal compatibility for 3D metrology devices
- Feature-based programming, probe angles, optimization, and time saving techniques, plus complex contour profile path programming including dynamic point grids
- Report construction and customization, Implementing GD&T, and additional tools for easy operation
- Set up automated inspection reports for repeatable process control
Metrology Lab for Advanced Manufacturing Education
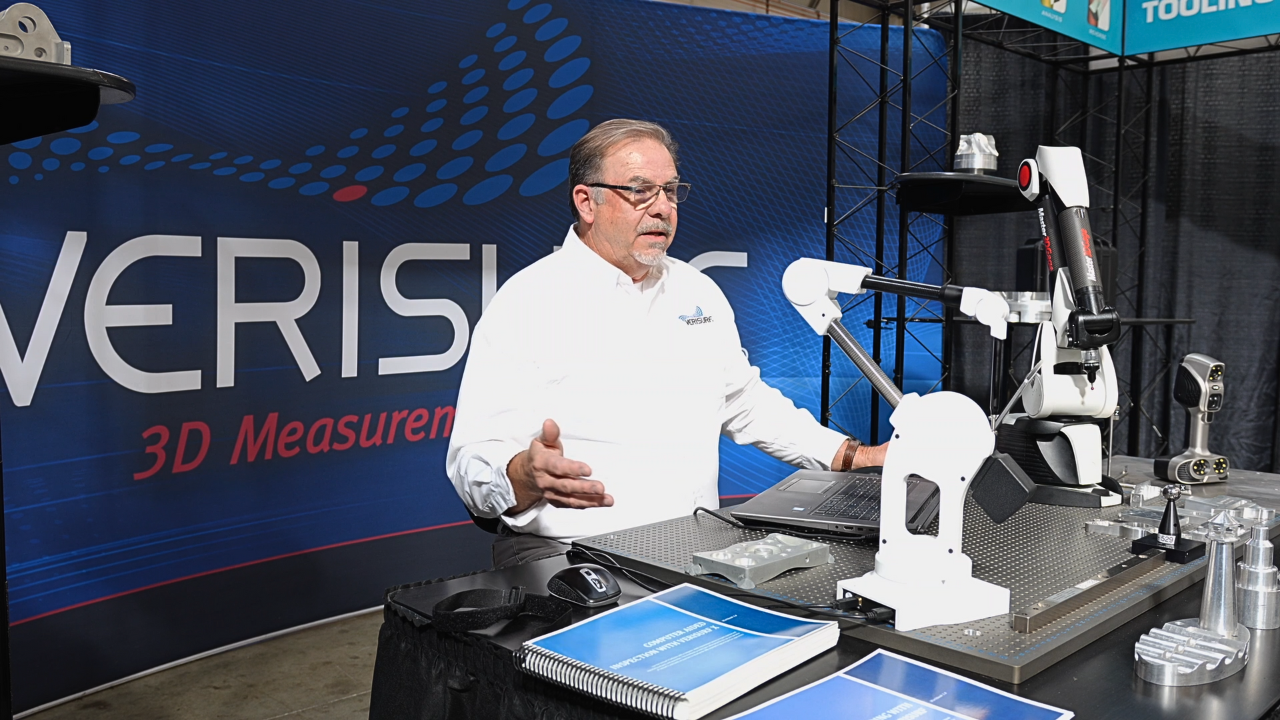
Join our webinar to explore Verisurf’s Metrology Lab educational program, offering hands-on training with 3DGage portable CMM arms and Verisurf Metrology Education Software. Students gain practical experience in quality control, inspection, GD&T, tool building, and reverse engineering.
Aired: Tuesday March 4, 2025
What to Expect from the Webinar
The Metrology Lab for Advanced Manufacturing Education webinar summarizes the fully developed educational program for the most relevant aspects of 3D measurement metrology in all of the major forms popular in industry today.
Verisurf’s Metrology Lab classroom is a hands-on, learn-by-doing approach. It places an affordable measuring device in the hands of each student to reinforce repeatable metrology processes. The lab includes ten 3DGage portable CMM arms, one Master3DGage CMM Arm for the instructor, and eleven networked licenses of Verisurf Metrology Education Software. Students gain skills in quality control, in-process inspection, GD&T, tool building, and reverse engineering.
- Overview of the course curriculum and materials, and educational-priced measurement hardware and software.
- Basics of the 3D Gage, low-cost, moderate accuracy measuring arm and the importance of hands on yet economical training for real world application.
- The Master 3DGage portable CMM arm, metrology-grade accuracy used in production environments, experience that fills the gap to high-tech.
- How the lab license for software is setup and utilized for instruction, training and testing towards achieving full competency of 3D metrology.
Portable CMM Inspection Planning, Execution & Quality Reporting
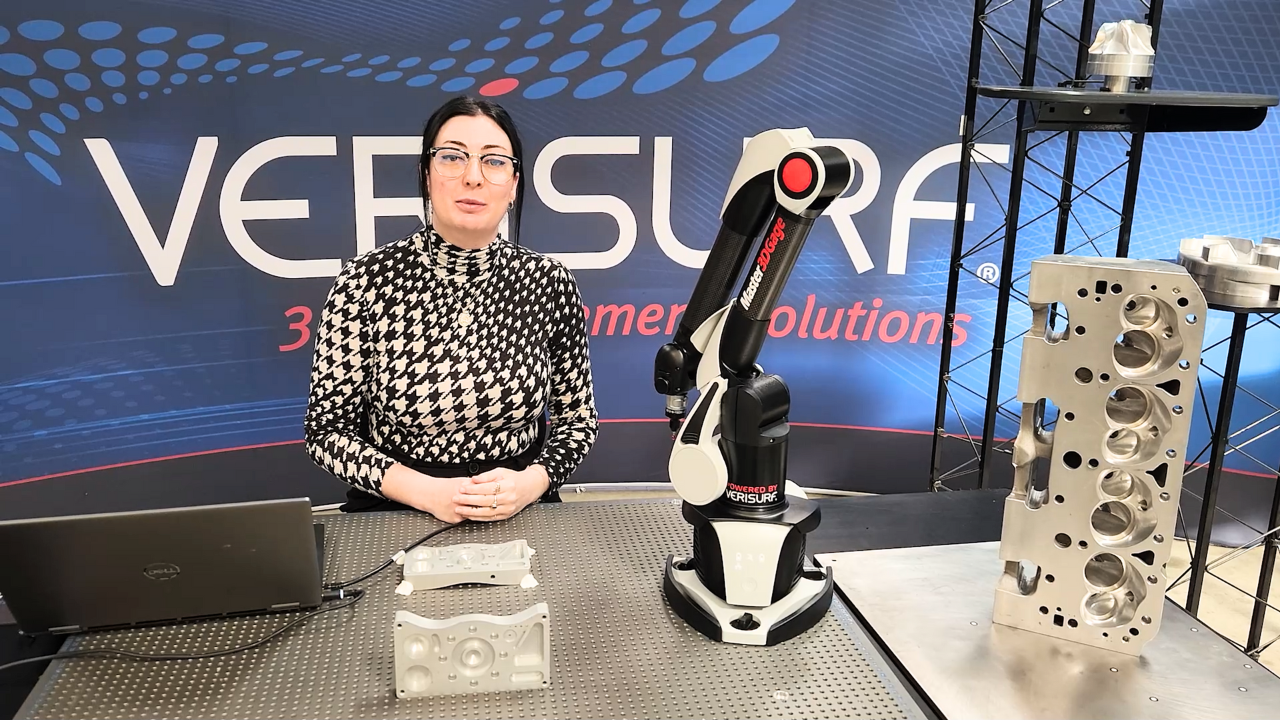
Join our webinar to learn how portable CMM arms streamline 3D inspection and quality reporting. Explore easy CAD model alignment, automatic inspection planning, and GD&T setups. Discover how to speed up inspection, improve accuracy, and generate automated reports for efficient manufacturing workflows.
Aired: Tuesday March 11, 2025
What to Expect from the Webinar
The Portable CMM Inspection Planning, Execution & Quality Reporting webinar introduces 3D inspection for quality control, featuring the benefits of portable, manually-operated CMM arms and similar devices and highlighting how Verisurf software makes the application highly productive and cost-effective. This application demonstrates how measuring the workpiece on the shop floor or even on-machine can eliminate wasted time and is an economical entry method for those new to 3D measurement technology.
The webinar emphasizes how quickly and easily you can align into the workpiece and start taking measurements. It highlights workflow simplification by selecting features to be inspected in the CAD model to automate the inspection with user-prompted inspection plans, increasing efficiency and process control. Finally, we will illustrate how quick and easy it is to generate an automatic inspection report of measured data and ensure that every part is inspected correctly and repeatably from part to part.
- Import CAD or enter drawing dimensions of the workpiece, set tolerances, and prepare the model, verify the measuring device and part setup is ready to measure accurately.
- Easy setting of GD&T constructs and relationships and building an optional, automated inspection plan, plus simple setup, execution, and reporting of complex 3D Profile and Position GD&T callouts.
- Demonstrate the ease and speed of portable CMM inspection, with many built-in indicators and control features to ensure accuracy and compliant inspection.
- Reporting measurement results, including streamlined aerospace AS9100 First Article Inspection Reports (FAIR) and configuring custom output for one-click reporting.

