 Portable CMM Arm Accessories
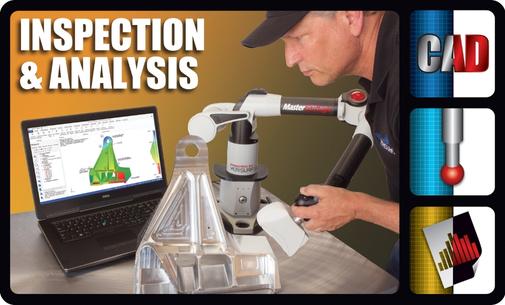
A very popular version of the coordinate measuring machine (CMM) is the portable CMM “arm,” not to be confused with the “robotic arm” or simply, robot, as it is called in 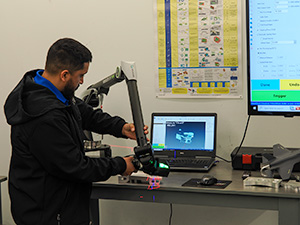 the factory automation world. Robots are motorized, machine-driven devices that have tube segments connected by articulating joints. The portable CMM (PCMM) arm is not motorized but is instead manually operated. The lack of motors is part of what makes them especially portable, lightweight, adaptable, and versatile. And unlike robots and CNC CMMs, they don’t require programming. However, digital work instructions are often employed with PCMM arms to make them more productive, controlled, and repeatable. CMM arm accessories are an essential part of the everyday use of the systems, and employing the best and most appropriate add-ons will make the job go faster and easier. These accessories are used with CMM arms manufactured or sold by API, Hexagon, FARO, Kreon, LK, Master3DGage, Nikon, Romer, Tomileri, and Trimos.
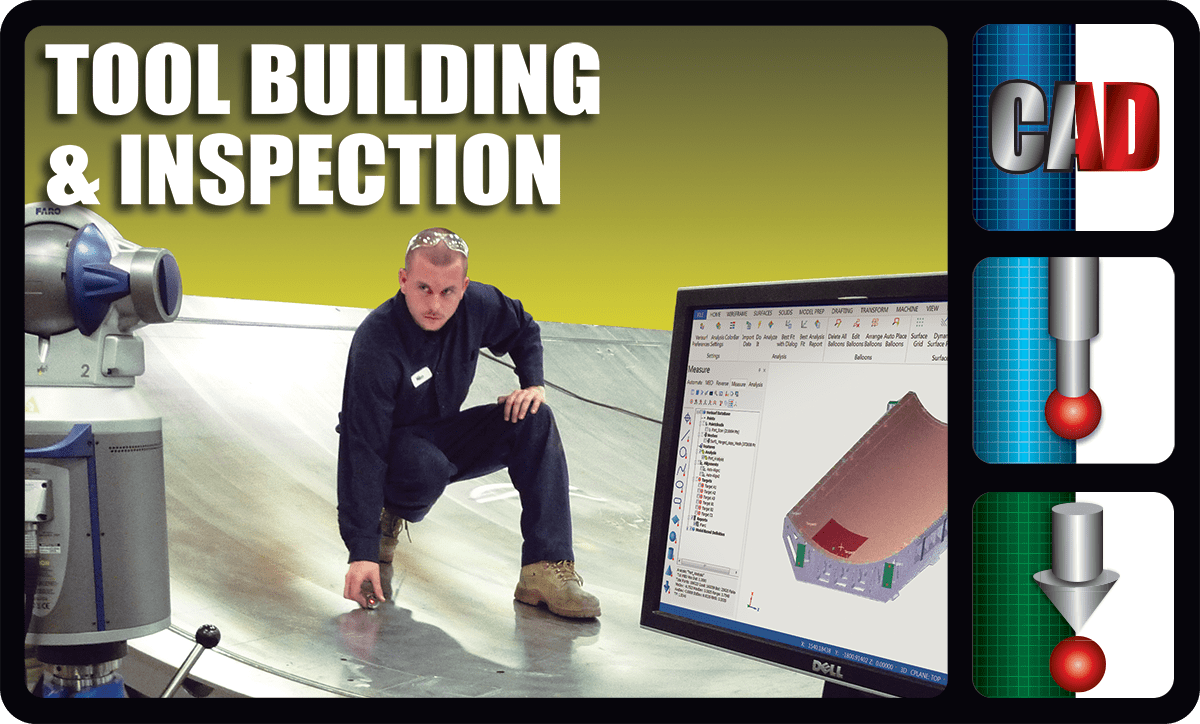
The primary benefits of PCMM arms are making it quick and easy to check manufactured parts and assemblies in place, and not having to take them to a measurement lab. It can be very useful to measure in the machine in which the item is being manufactured (such as a CNC machine), or on the assembly it is mounted (such as a car or aircraft). There are numerous types of accessories necessary to accompany the arm for each specific task, and for the many scenarios that may be encountered.
The hardware accessories are used for important requirements such as mounting the arm to a firm foundation so that it remains solidly in a fixed position while measuring. Also, probes of all sizes and lengths are necessary to reach different features that might be near the surface or deep inside the inspection article. This guide is a general overview of the commonly used accessories with today’s PCMM measuring arms.
Mounting Bases
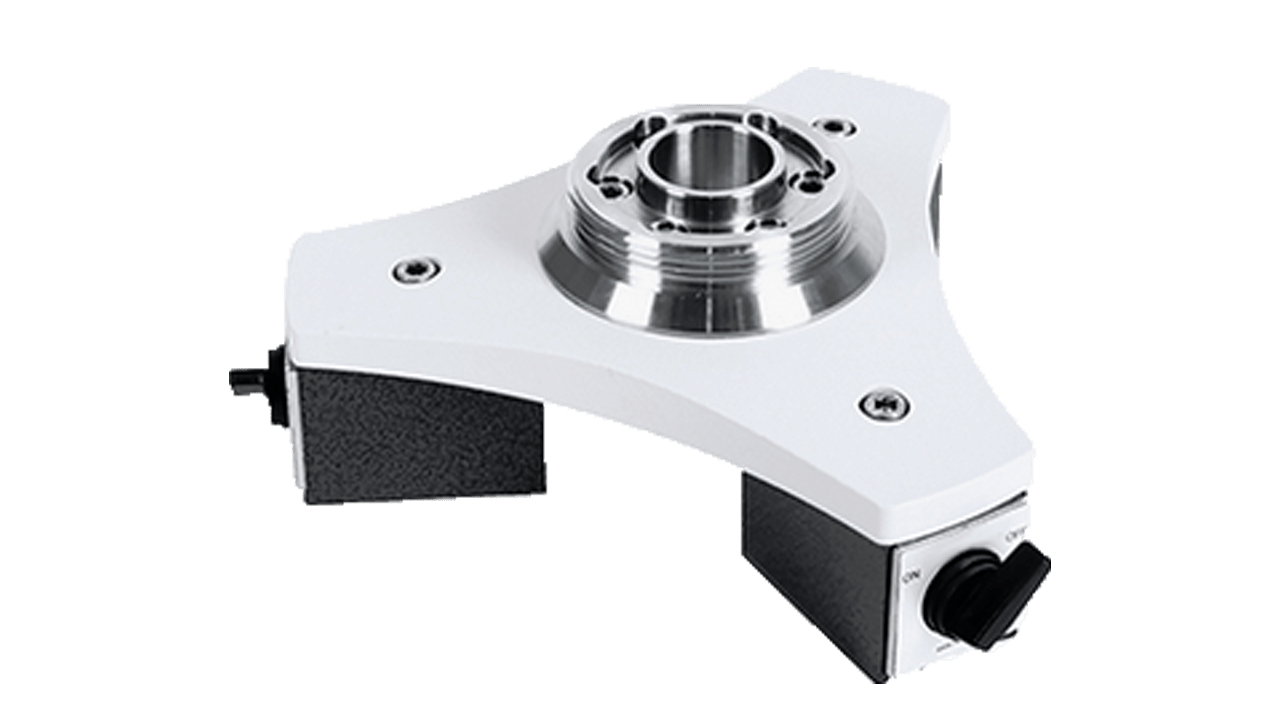
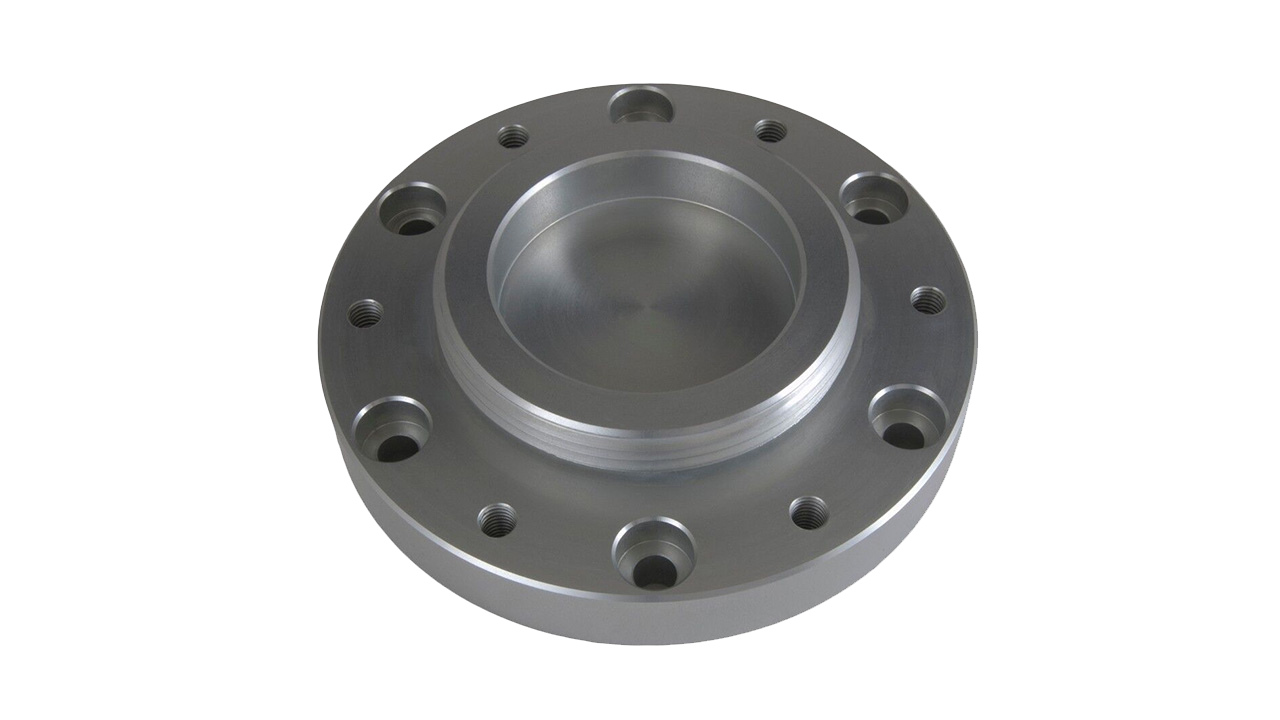
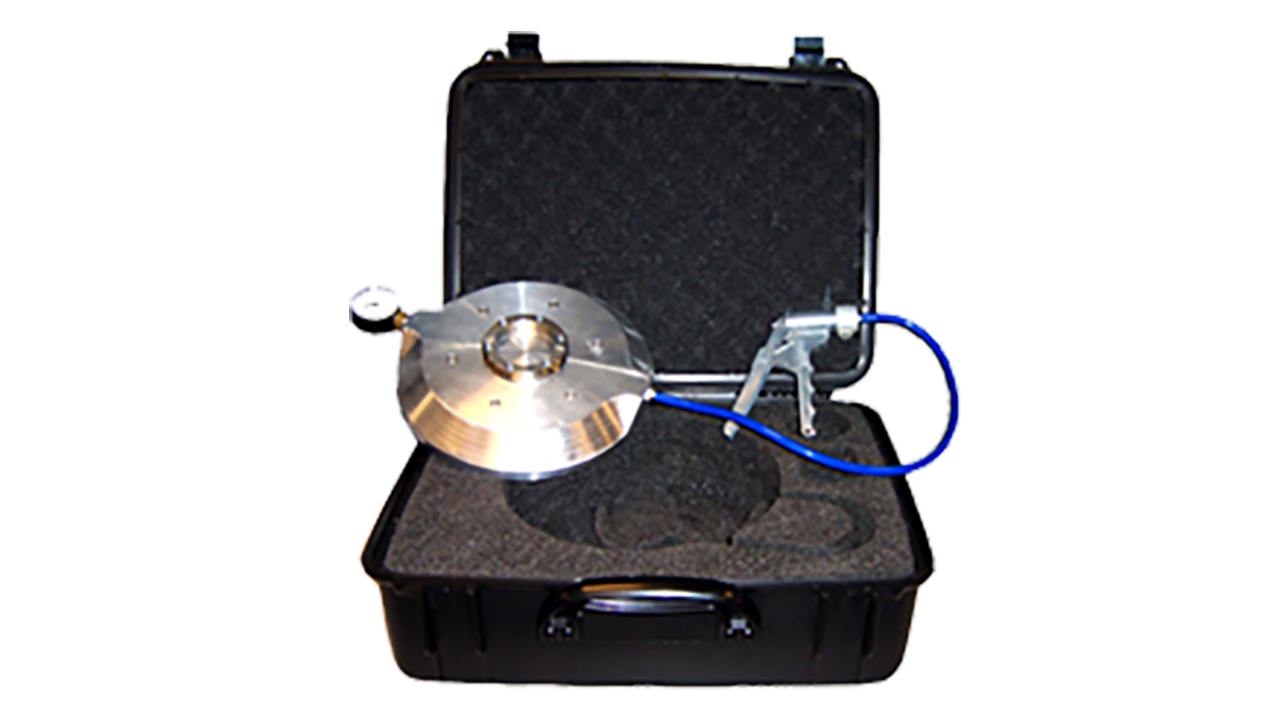
The most common base includes a threaded 3 ½ inch adapter on a machined plate, which often includes a magnet or vacuum assembly for securing to a steel or granite table respectively. Bases can also be clamped or bolted to a solid, sturdy table, such as granite or steel. The 3 ½ inch threads are to a metrology standard that allows it to be adapted to many types of stands, tripods, carts, or tables.
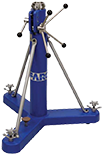
Tripods
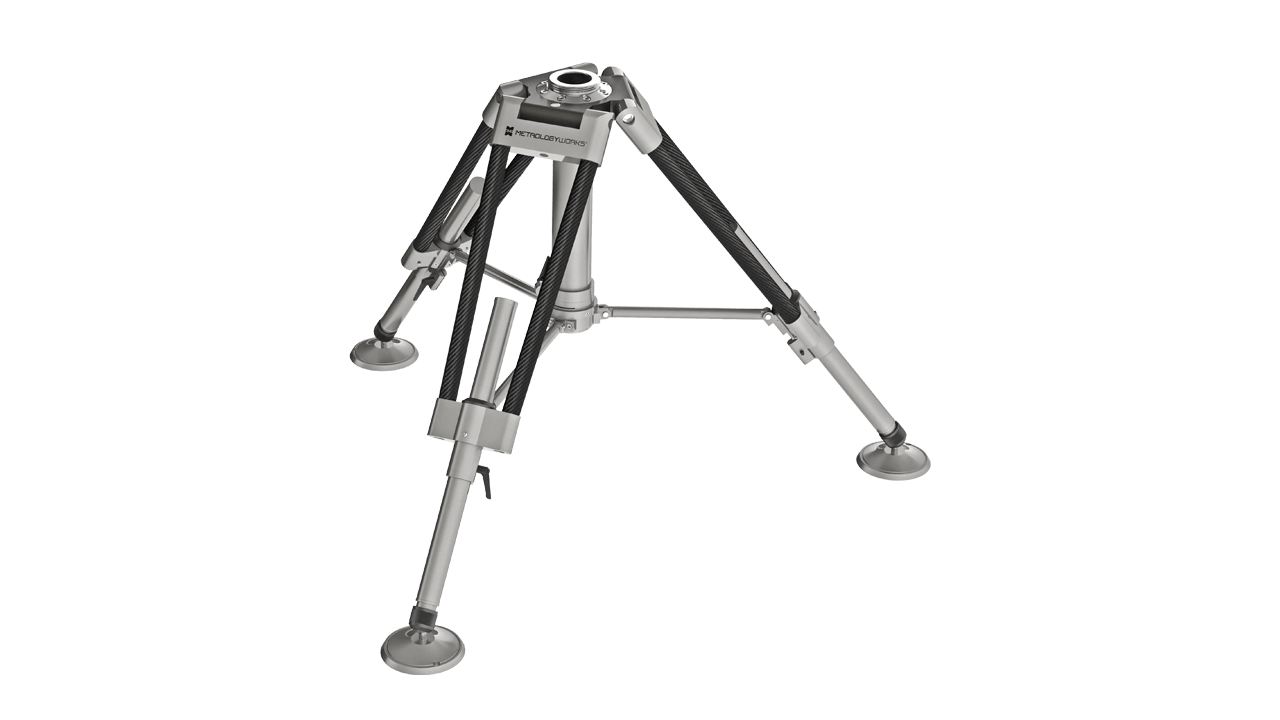
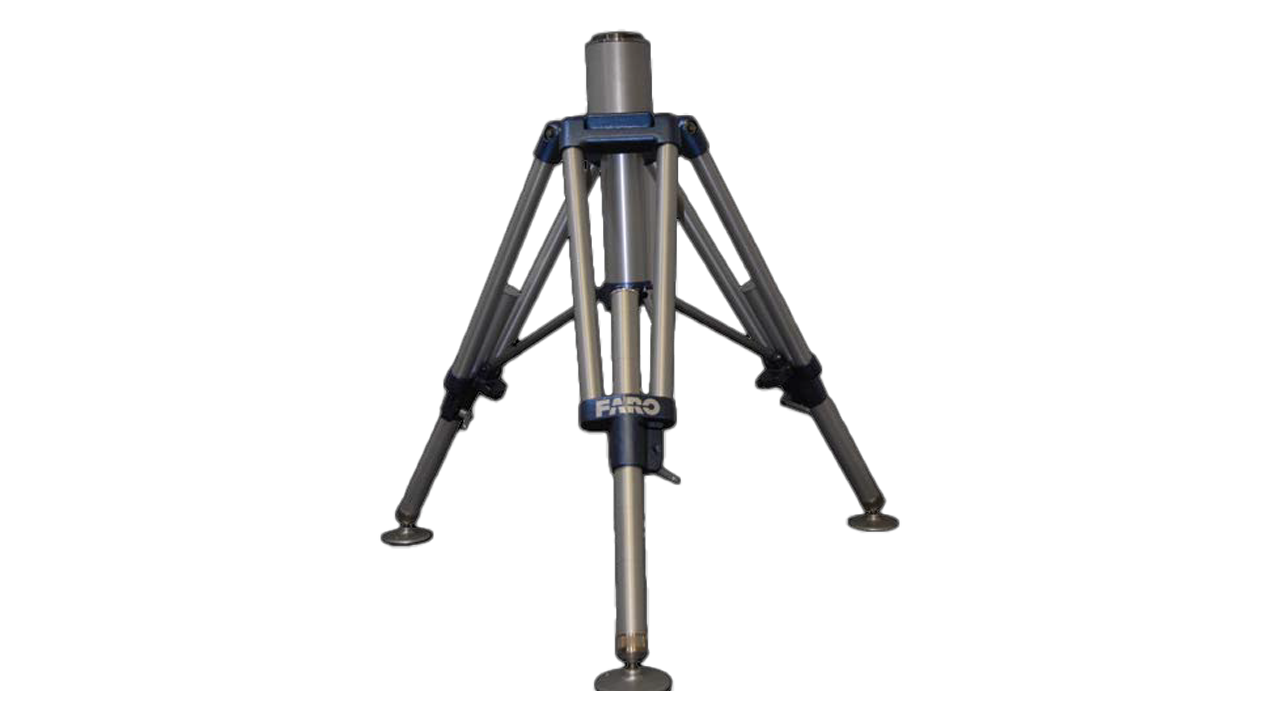
For easy transport within the factory and especially out in the field, folding tripods are an excellent option. A tripod’s three points provide geometric resolution that the structure will sit firmly on the floor but won’t rock if not perfectly flat. Many come with a transport case of their own. Also available are accessories such as extendable arms with magnets or clampable brackets to secure the tripod to the workpiece or table. Another good add-on is a laptop shelf.
Rigid Rolling Stands
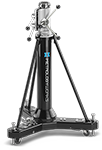
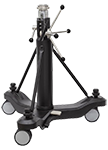
Similar to tripod mounts, the rolling stand is highly portable albeit not as lightweight and packable as the tripod. It is best suited to infrequent use outside the factory, but having more rigidity than a tripod, it may be a better solution for those who need to move around the shop and don’t need to leave the shop with it often. The rolling stand typically has the 3 ½-inch interchangeable metrology threaded ring for easy attachment and dismount of the arm. It has hard wheels that are retracted when reaching the measurement location, leaving the arm and stand on 3 points of firm, non-rocking foundation. Three points provide geometric resolution that the structure will be rigid but won’t rock if the floor is not perfectly flat. Like for the tripod, a laptop shelf might be a good add-on for the rolling stand.
Granite Tables
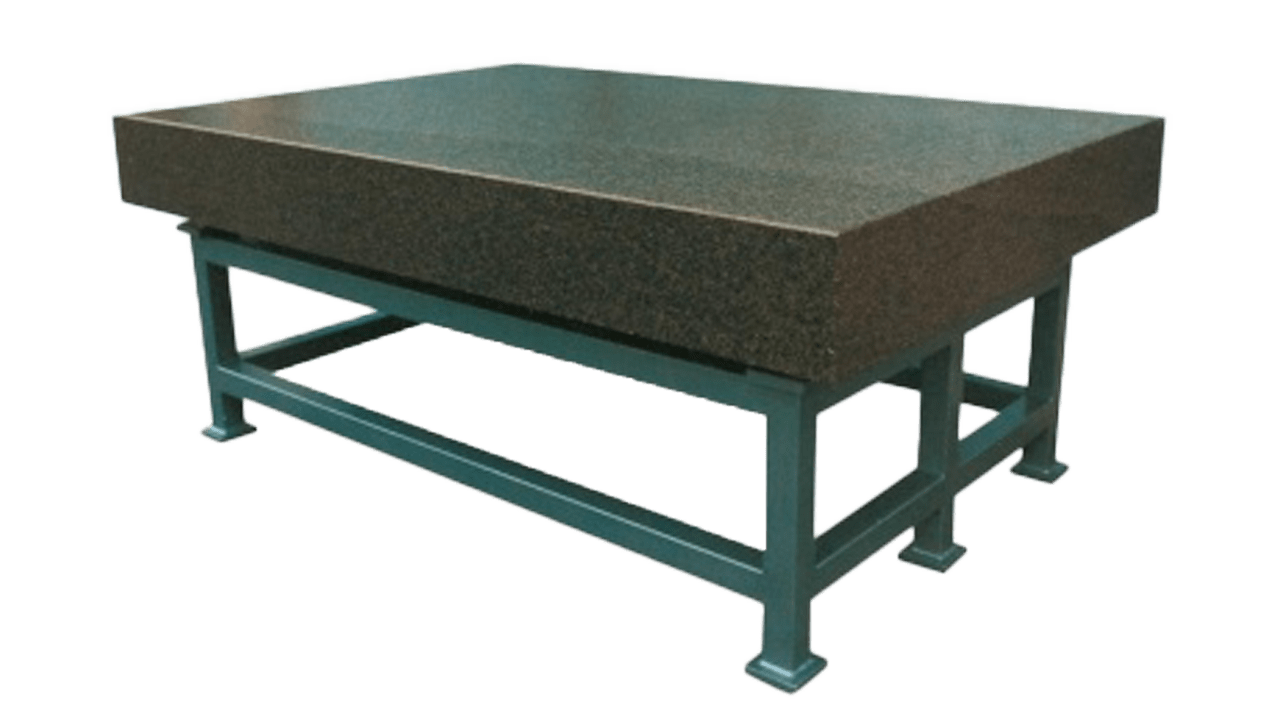
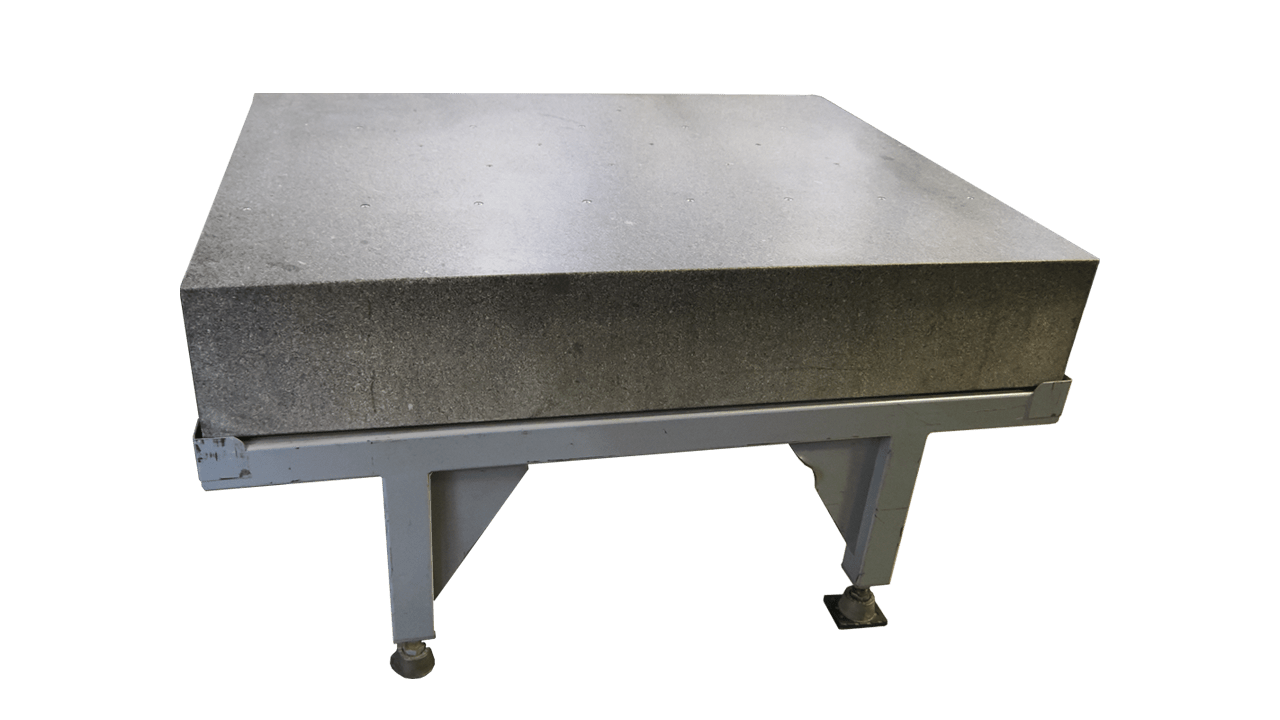
Common in inspection labs, and also made of the same material used on virtually all tables of stationary, programmable CMMs, granite tables are also good matches for CMM arms. In fact, it is common to see arms mounted to a CMM’s granite table for quick or auxiliary checks using the arm.
Steel Tables
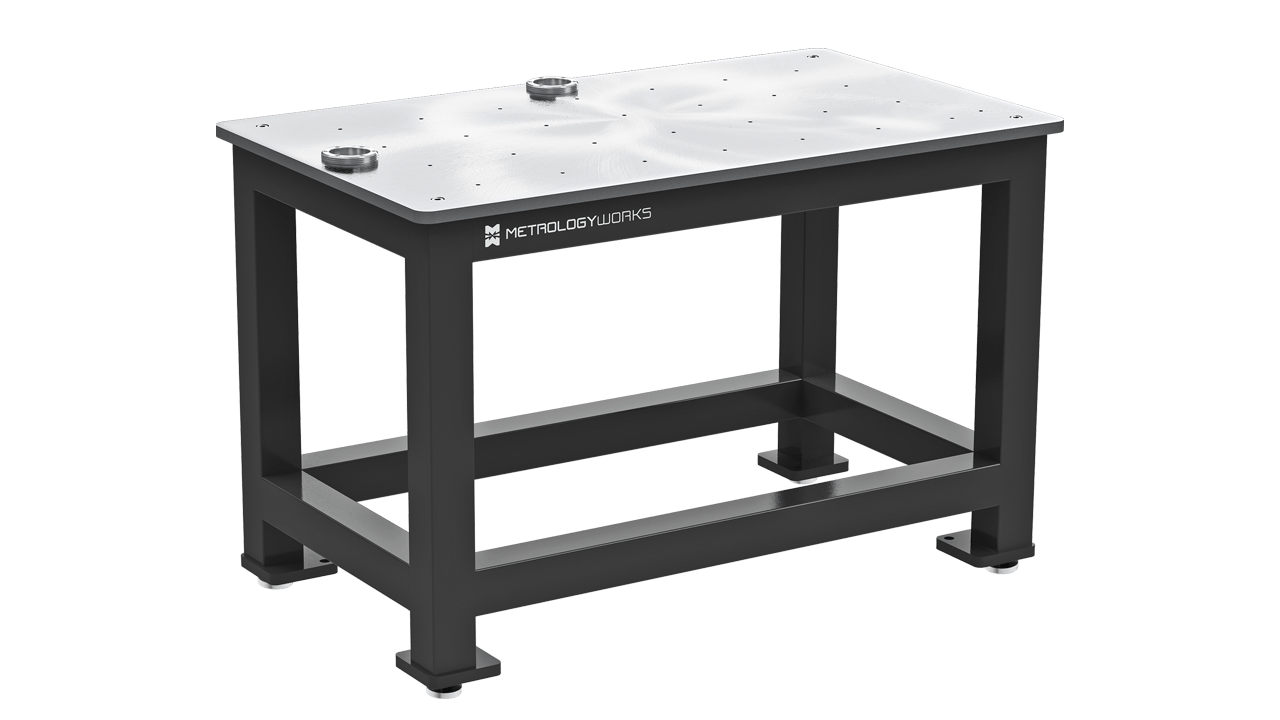
While steel has its downsides of weight and cost, it is a good material to make a firm, rigid, and flat work surface. Steel also has the benefit of allowing use of magnetic mount bases, which make quick relocation and mount/dismount of the arm a breeze.
Portable Carts
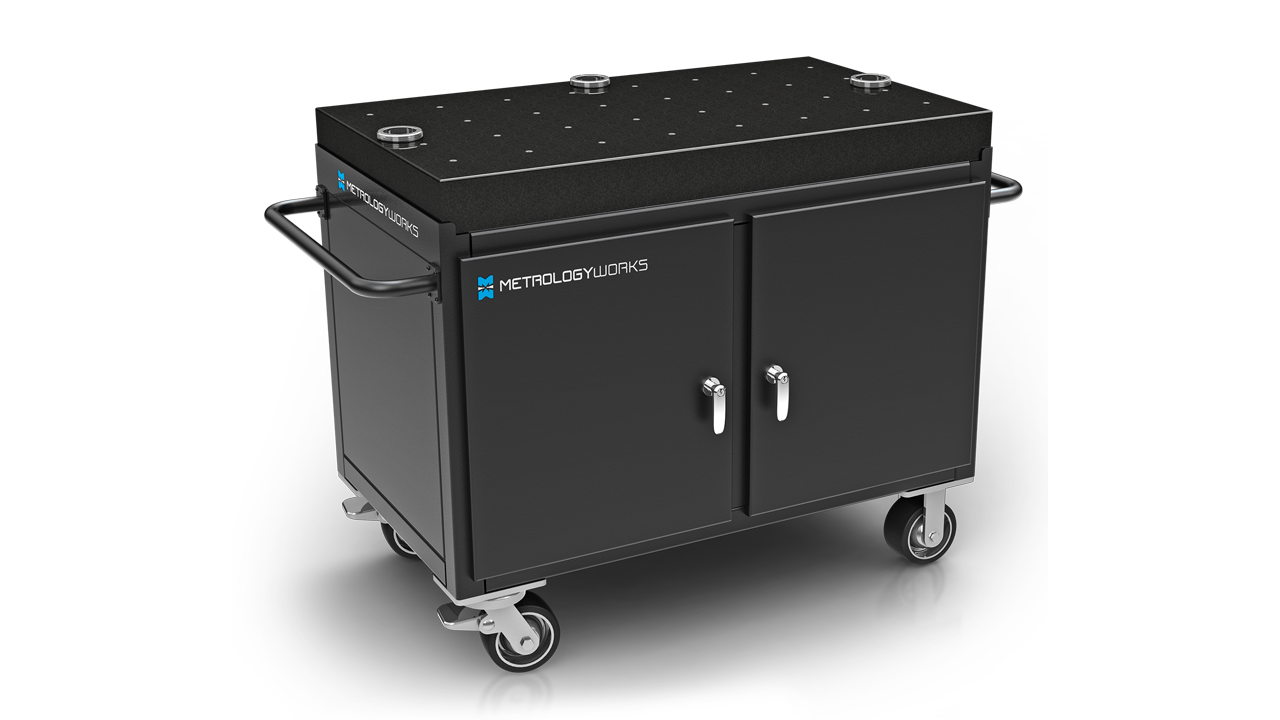
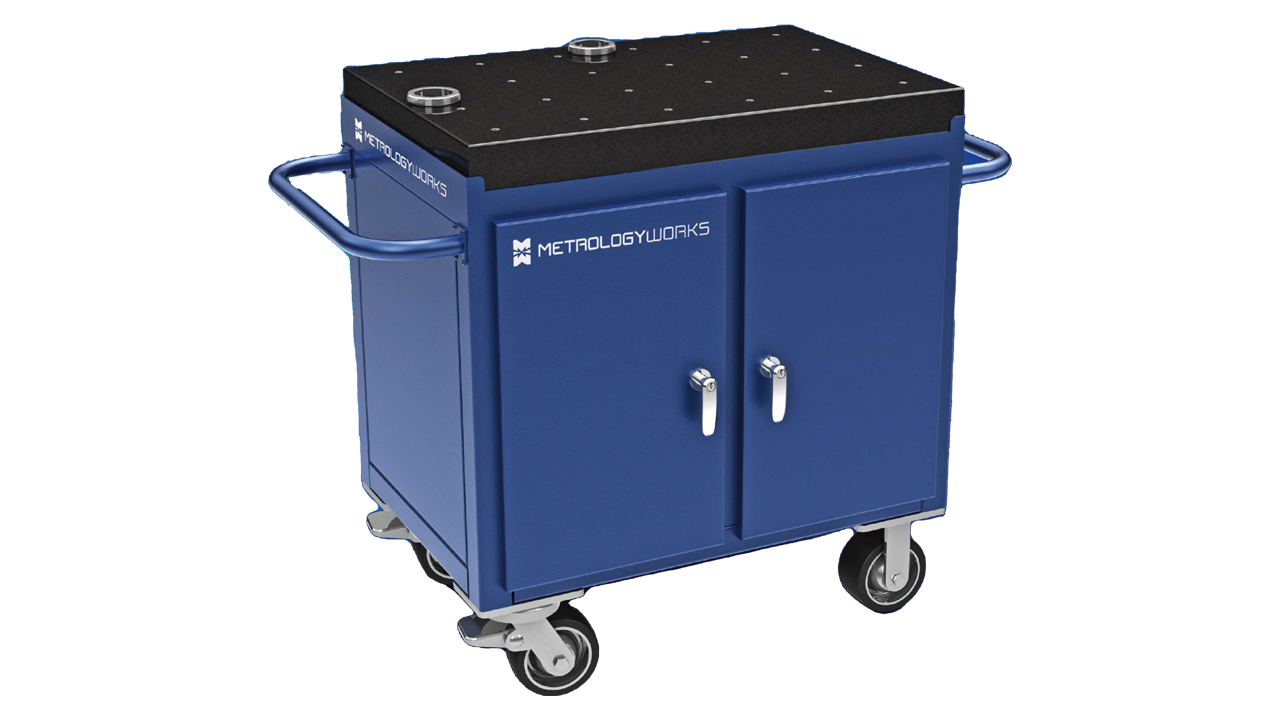
Commonly configured as a steel, robust cabinet with wheels and a granite surface plate mounted to the top, these make great workstations for rolling the arm around the shop. Optional monitor mount poles can be added to make room on the table for work, while the computer workstation can be housed inside the cart.
Scanners
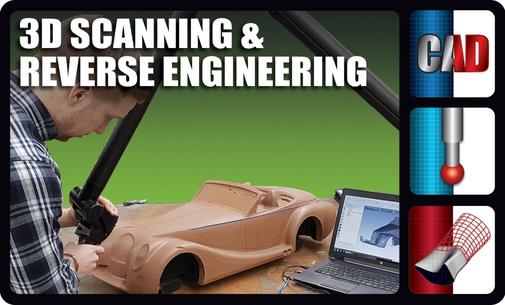
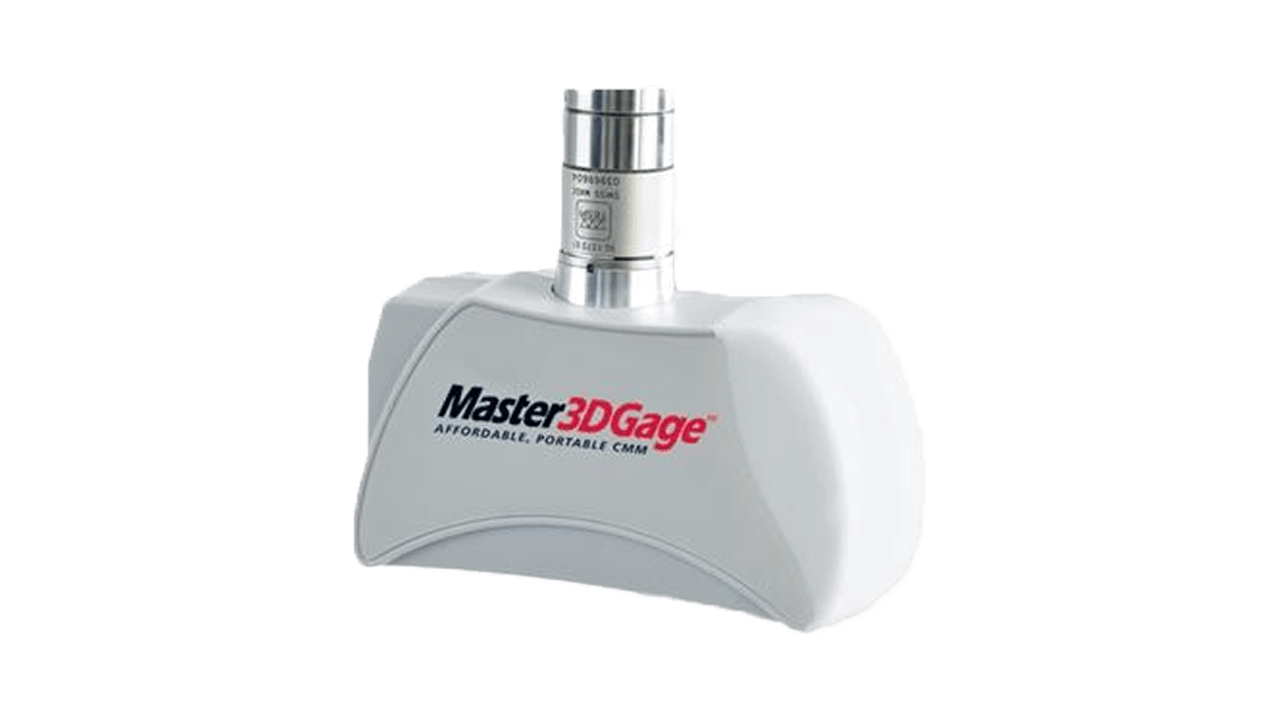
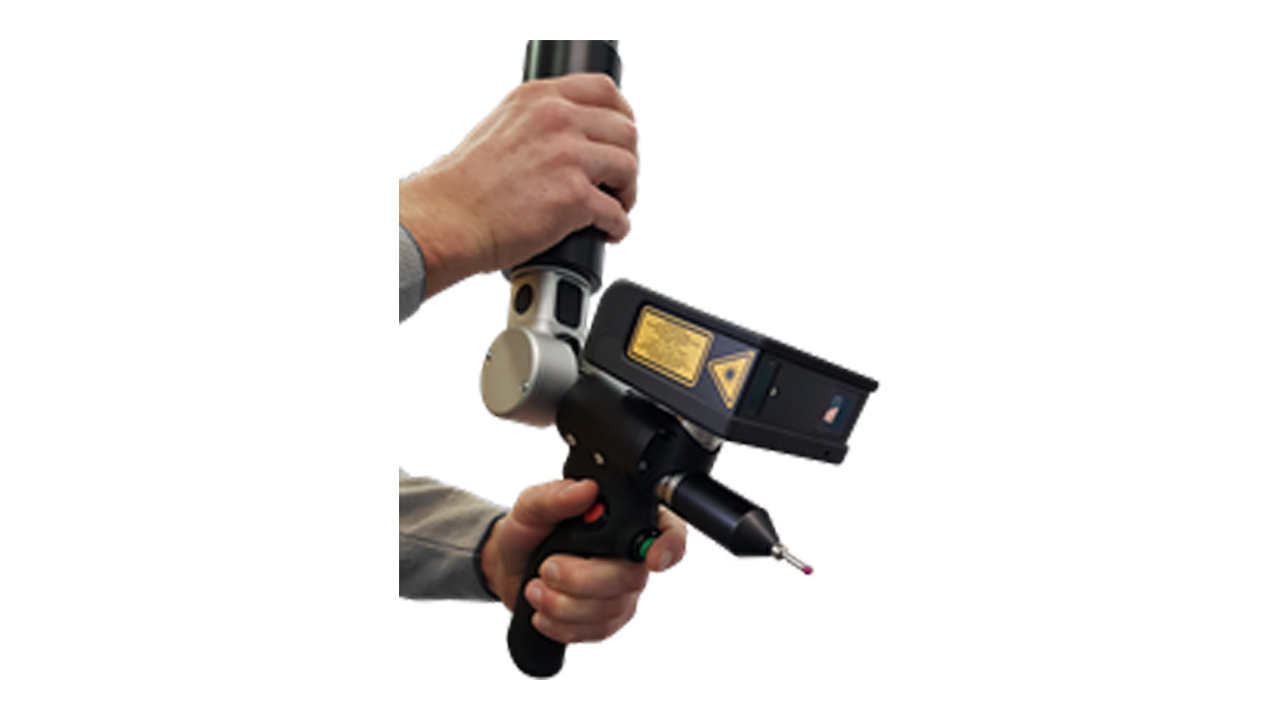
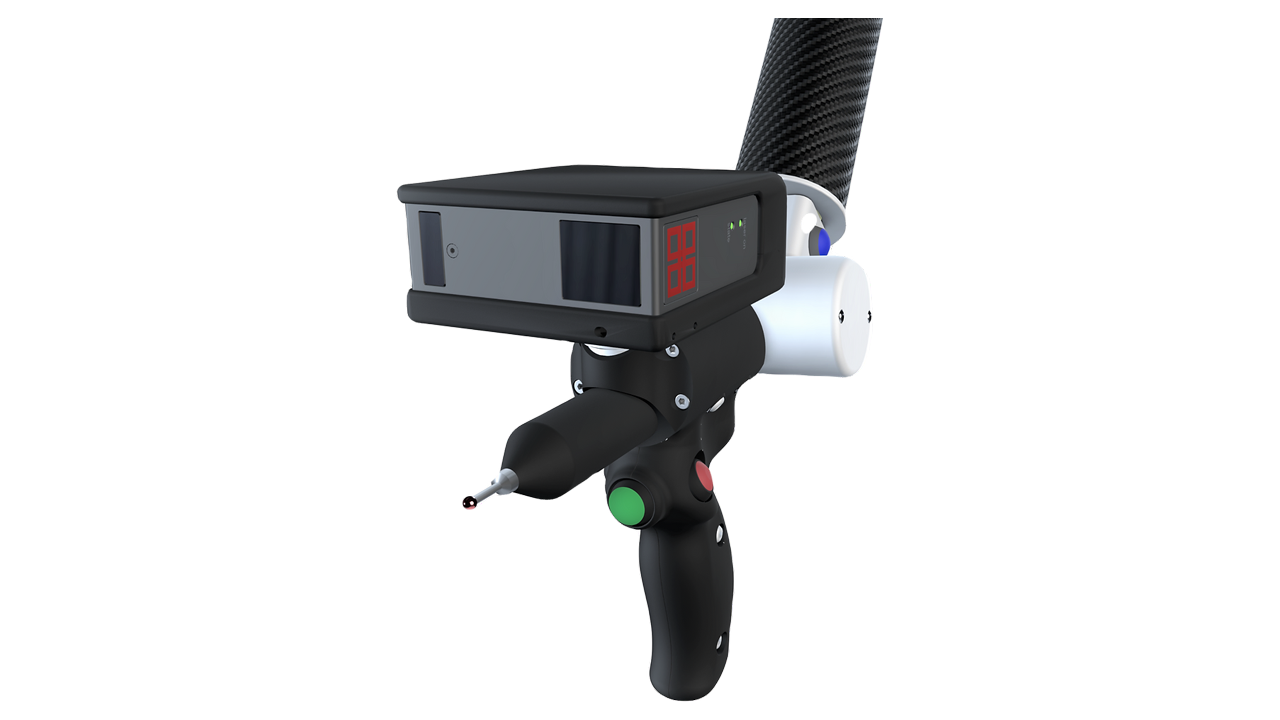
The portable CMM arm scanner attachment, or “laser line probe,” adds significant data capture capability to the arm. The primary benefits are its non-contact data gathering and its ability to acquire a lot of data really fast. While many who sell arms and scanners promote the notion that one must have a scanner for reverse engineering (RE), this is absolutely not the case. Scanners can provide a significant advantage for RE on certain geometry types such as organic contours, or for parts that require considerable, fine detail. But for simple primitive shapes and even gentle contours, a hard probe can often do the job quicker, more accurately, and at a lower cost. For inspection, contoured shapes that do not require super-tight tolerances are well-suited to non-contact scanners. Good examples are stamped or formed sheet metal parts, and plastic or composite parts that have been molded. Here again, for primitive shapes such as machined parts with flats and small deep holes, especially with tight tolerances, a hard contact probe might be more efficient and cost effective.
Turntables
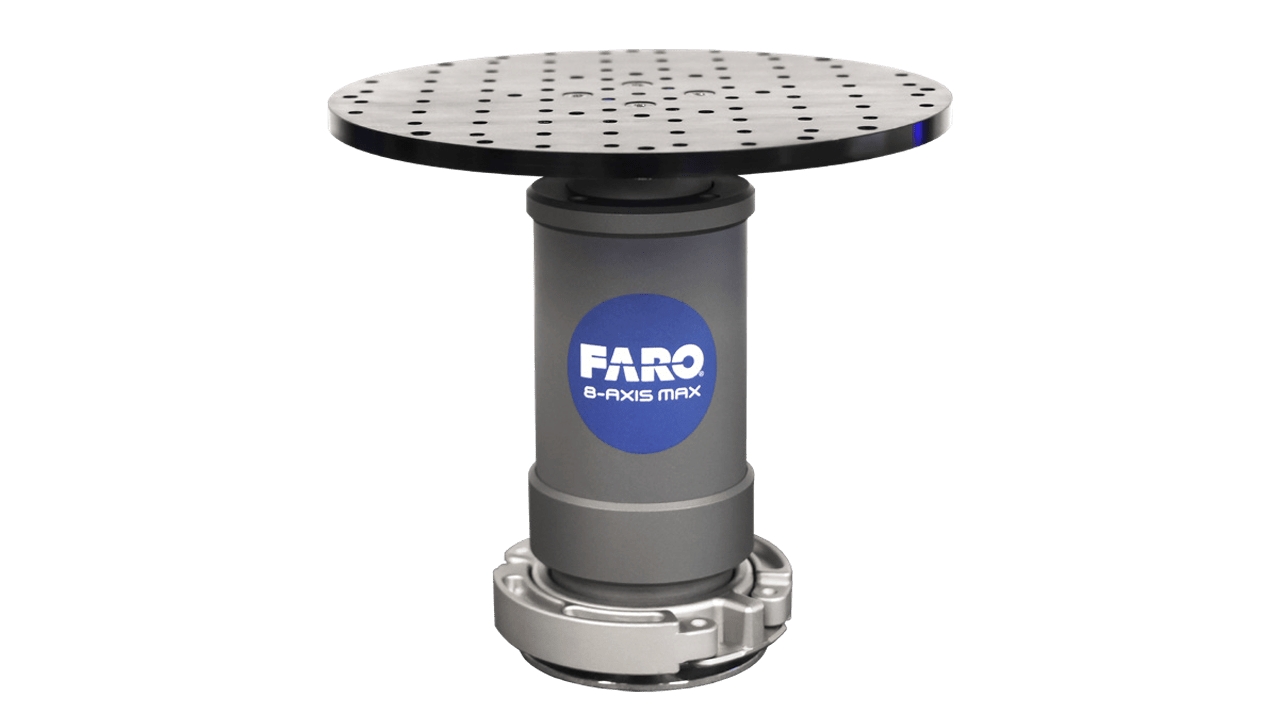
Most commonly used for 3D non-contact scanning as they allow the workpiece to be turned and easily scanned 360 degrees around the part. They are typically designed with an integral encoder and communication with the arm and control software. This is so that the workpiece can be rotated and data measured/gathered while maintaining the 3D reference system and ensuring good quality data. It makes the work go faster and precludes device leapfrogging or relocation to access all sides of the part.
Training, Demonstration, & DPD1 Artifacts
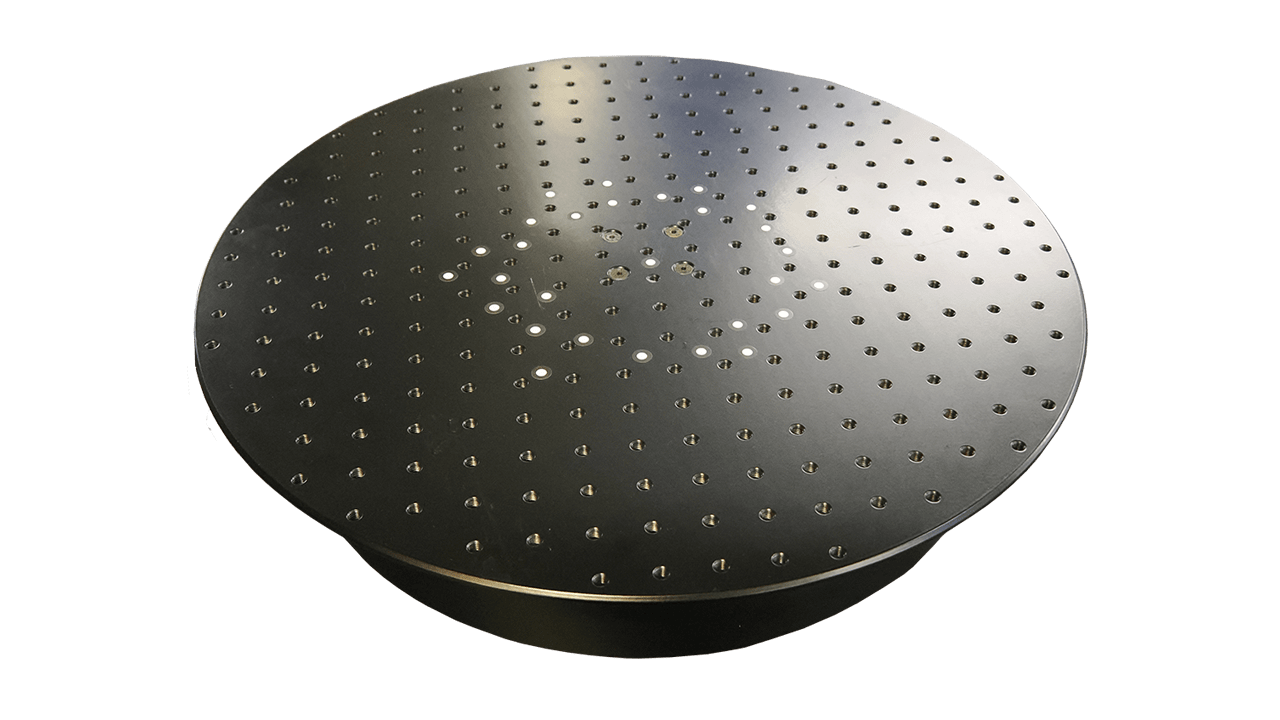
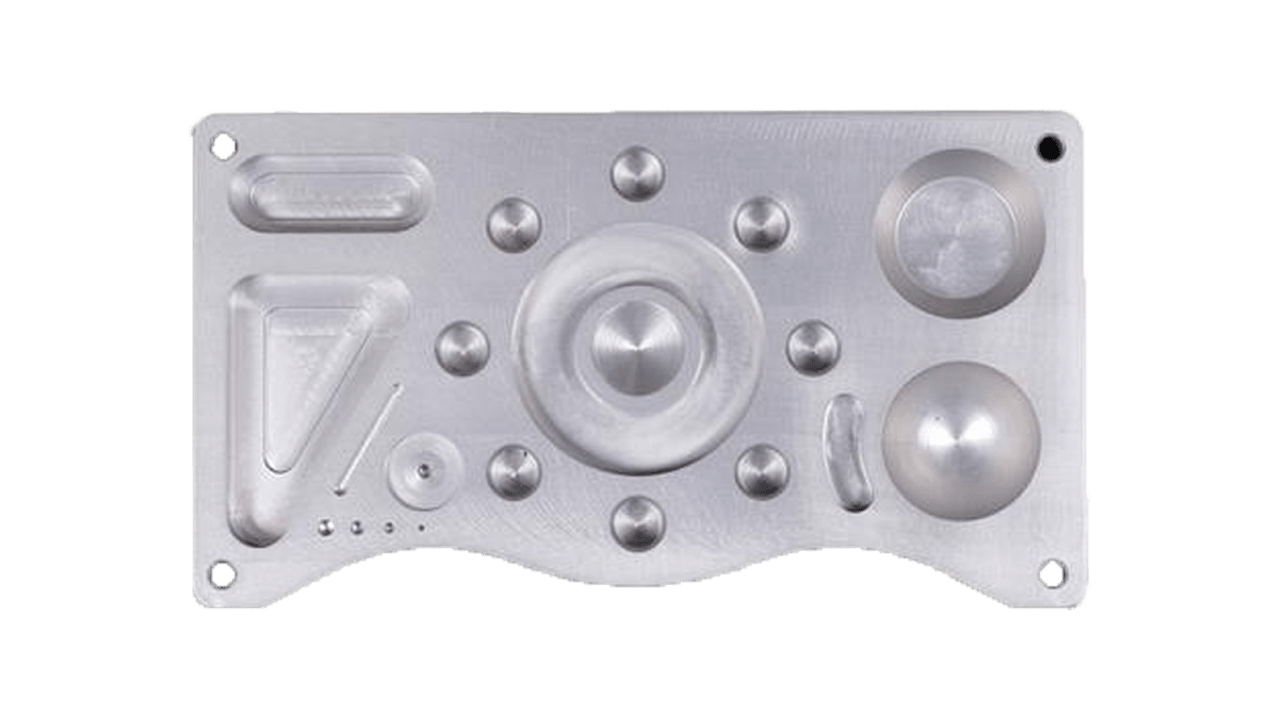
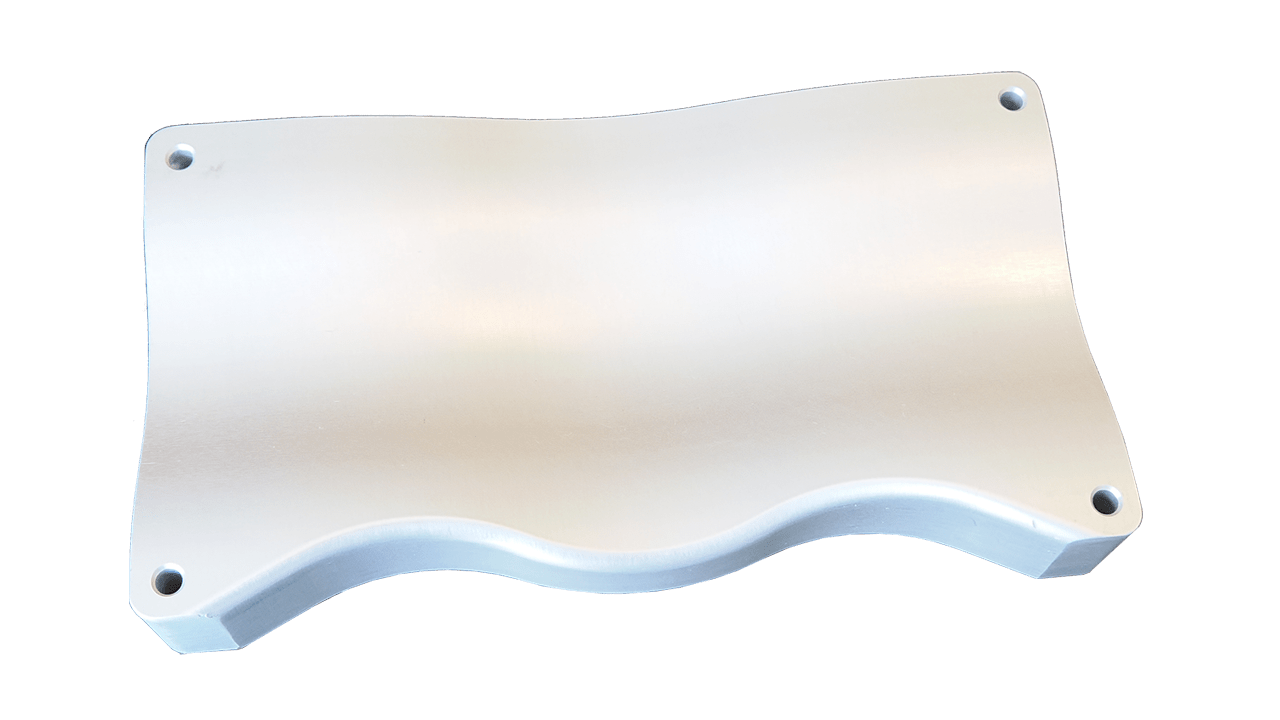
A machined part of stable material with a wide range of primitive features as well as organic contours makes a great tool for several valuable purposes. It is excellent for training of new users and also for a refresher learning session to help maintain knowledge of both the arm and application software. There are times a user may want to test out a feature or workflow and having a familiar, known part is good for those tasks. As a test artifact, it provides a good tool to check the arm, software and processes for accuracy and repeatability. Some customers such as Boeing have strict requirements for digital product definition (DPD) that require their suppliers to check their measurement systems against a known artifact on a recurring basis, or if any changes are made to the hardware or software since the system was last verified.
Note:
1 DPD = Digital Product Definition
Certified Length Standards and Scale Bars
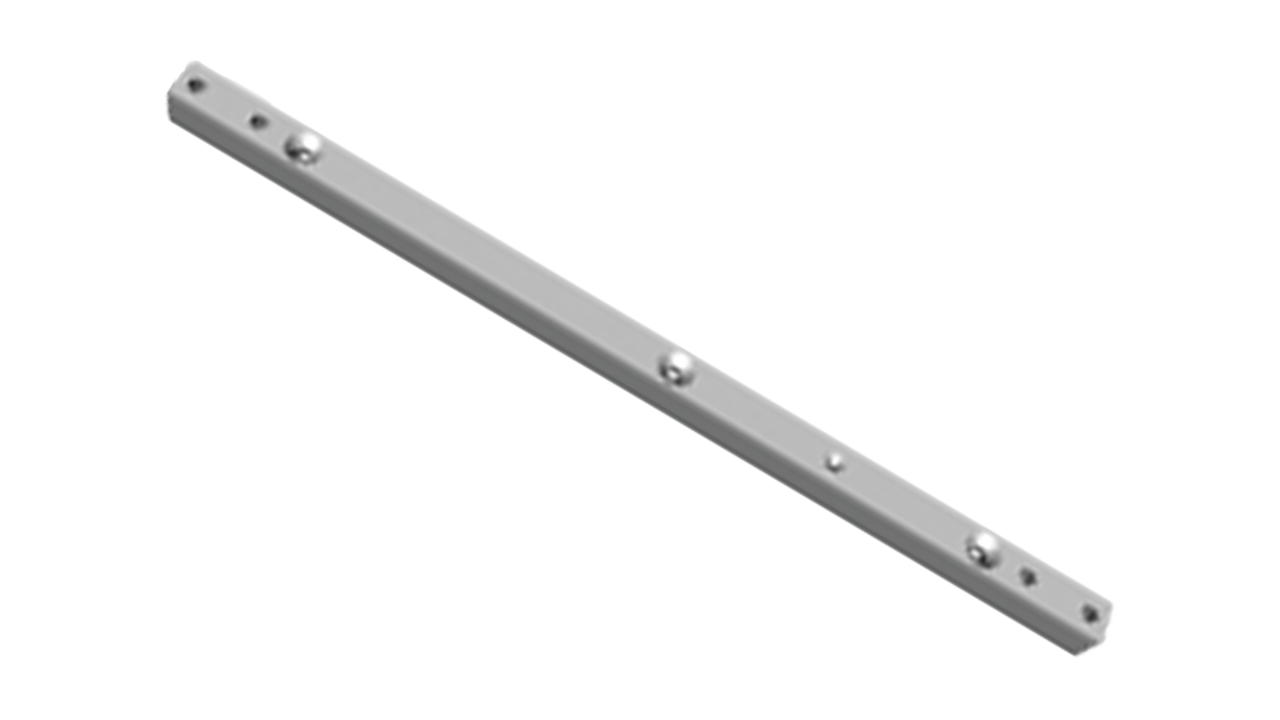
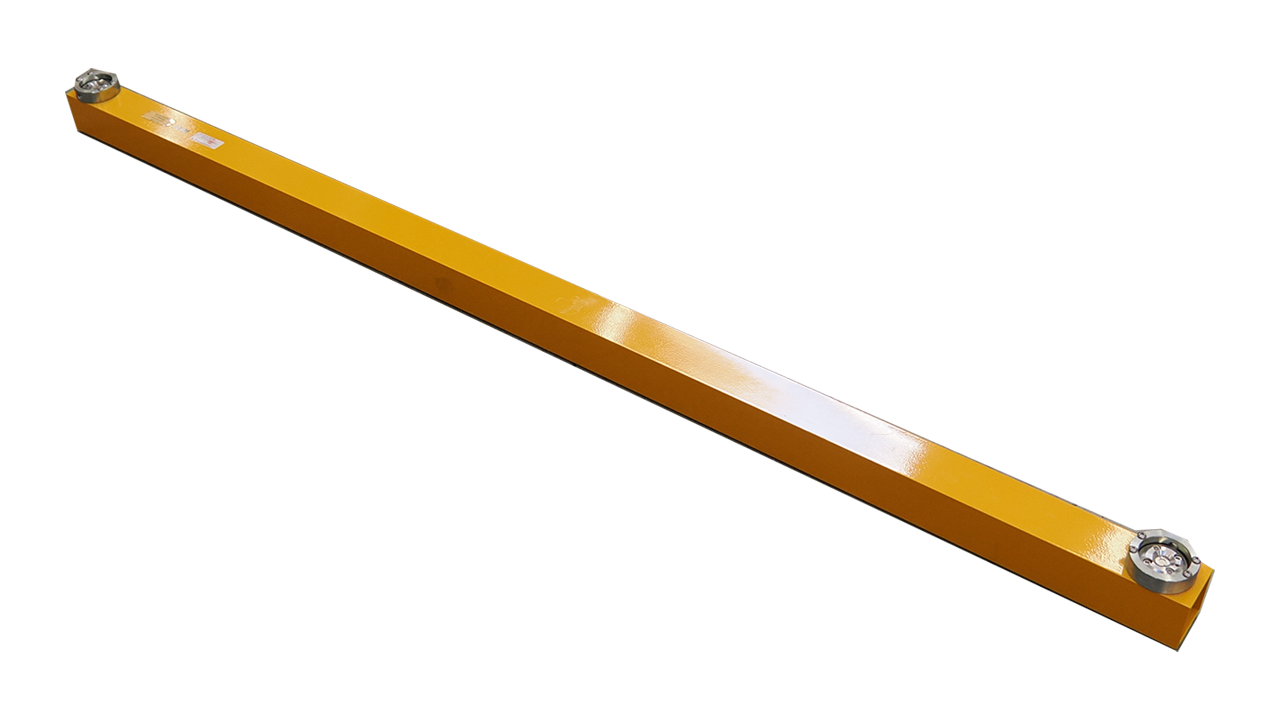
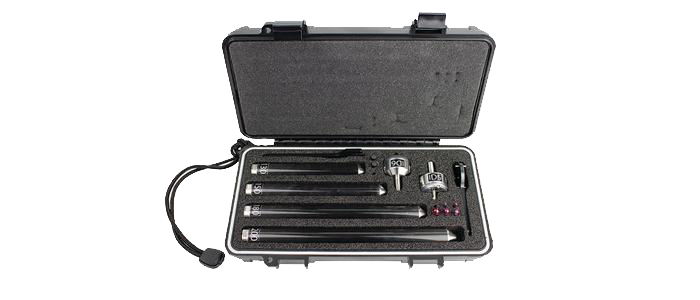
Certified length standards are best-practice tools that are either required or highly recommended to check the arm’s accuracy and repeatability over the measurement volume for which it is designed. These metal bars, made from the reasonably thermally stable material, are to be checked at least annually against a NIST2 traceable standard by a qualified laboratory or metrology service provider. Certified length values are labeled on the bar so the user can check actual measured values against the certified numbers. Scale bars are similar to certified length standards in that they are also made to be stable in length and need to be certified by a lab to NIST standards. They are similarly used to verify that the measuring equipment is accurate and repeatable. Length standards and scale bars are among the most overlooked of the CMM arm accessories, and they definitely shouldn’t be.
Note:2 NIST = National Institute of Standards
Software
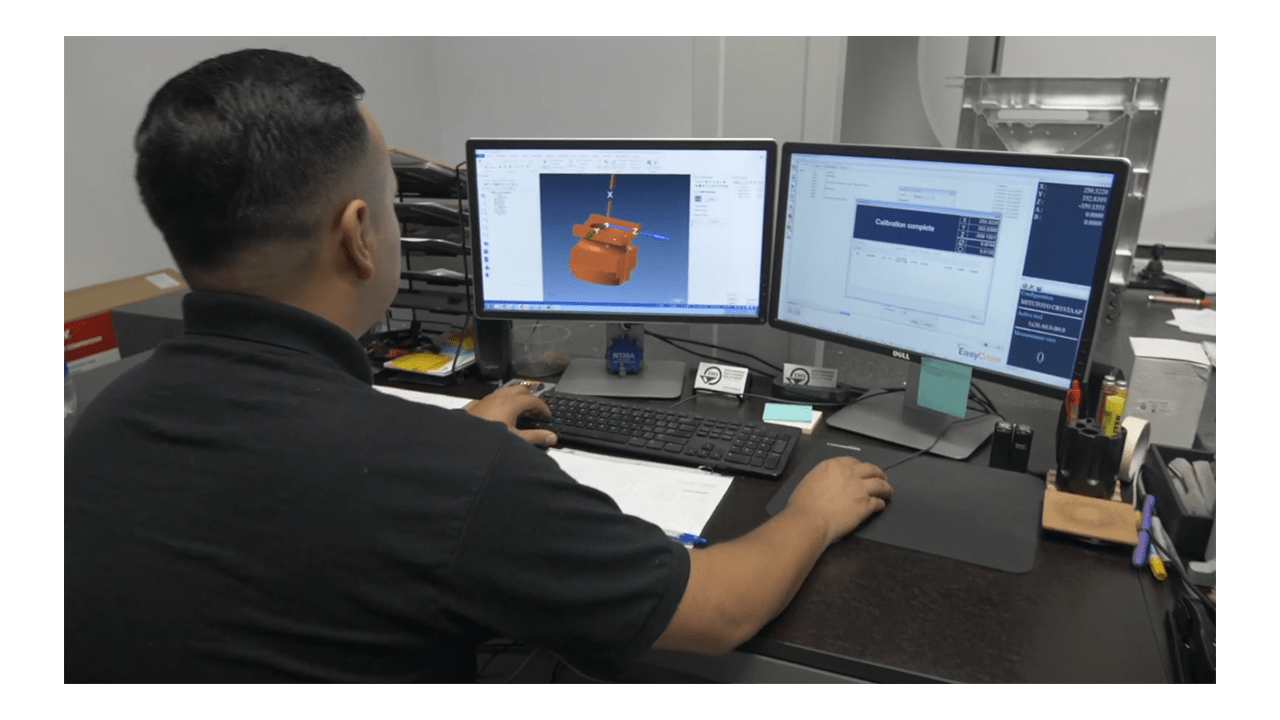
The choice of operation and analysis software and its capabilities, user-friendliness, and interoperability cannot be understated. It really does the “heavy lifting” and can be what makes the portable arm either a super-productive measurement tool or a boat anchor. It must work cohesively with the arm, the baseline for measuring –– the CAD model, and the user. Many have chosen their software based on a salesperson’s demonstration on a rehearsed demo part, and upon promises that it will do everything it will be called upon to do. And of course, it will do everything so easily a child could do it. The truth is that’s not often the case. The real test is for prospective arm users to test the software on the arm in their shop environment on their real parts to their real specifications. While it is not normally realistic to see a full inspection or reverse engineering job from start to finish, the system must be taken through its full paces as much as possible. All software and hardware should go through the same apples-to-apples evaluation for true due diligence that won’t disappoint.
Computer Workstations
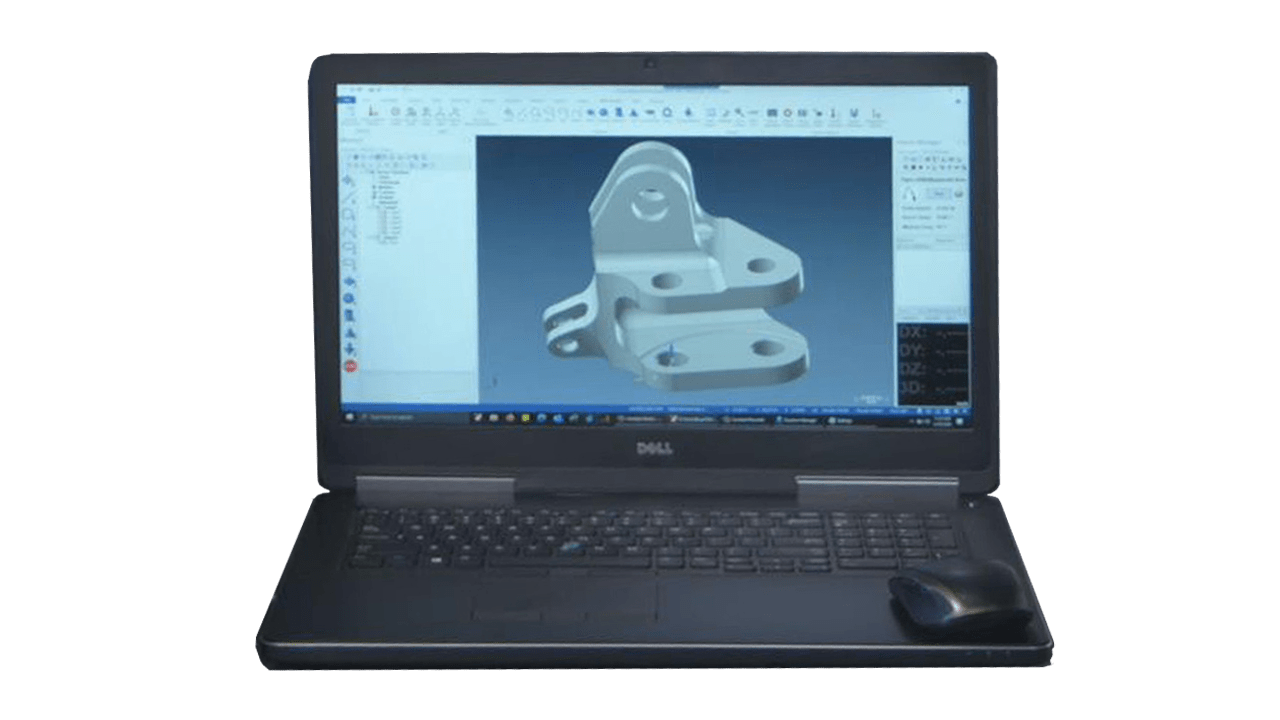
Recognizing that we are talking about portable arms, it makes sense that the workstation to operate and gather data from them should normally be a laptop. Some arms might be used regularly in one location, so a desktop computer would be fine. Some users roll their arm station around on a robust steel cart with granite work top, so if the desktop workstation fits in the cabinet and with the addition of an optional post to mount the monitor, a desktop might bring more power and efficiency and is a bit safer from theft. Also important, whether a laptop or desktop, it should be an “engineering” quality computer. One that has been heavily tested by a reputable manufacturer, so that your expensive measuring machine is not rendered useless due to a failed workstation. By “engineering quality” we mean the PC’s processor for performance and speed, RAM, hard drive space, graphics card, and monitor, which are all important. Most work is done with CAD in the case of inspection, and creating CAD in the case of RE. So a system with a graphics card optimized for CAD is the way to go. (Recommended workstation specifications.)
Custom Probes
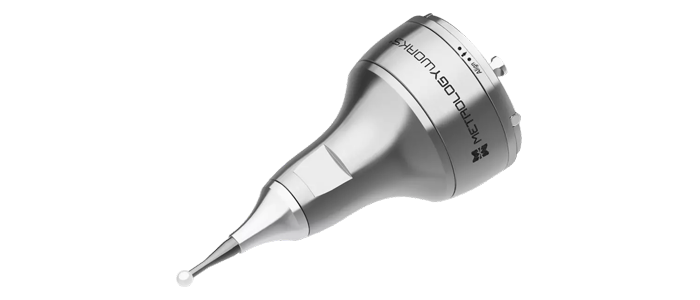
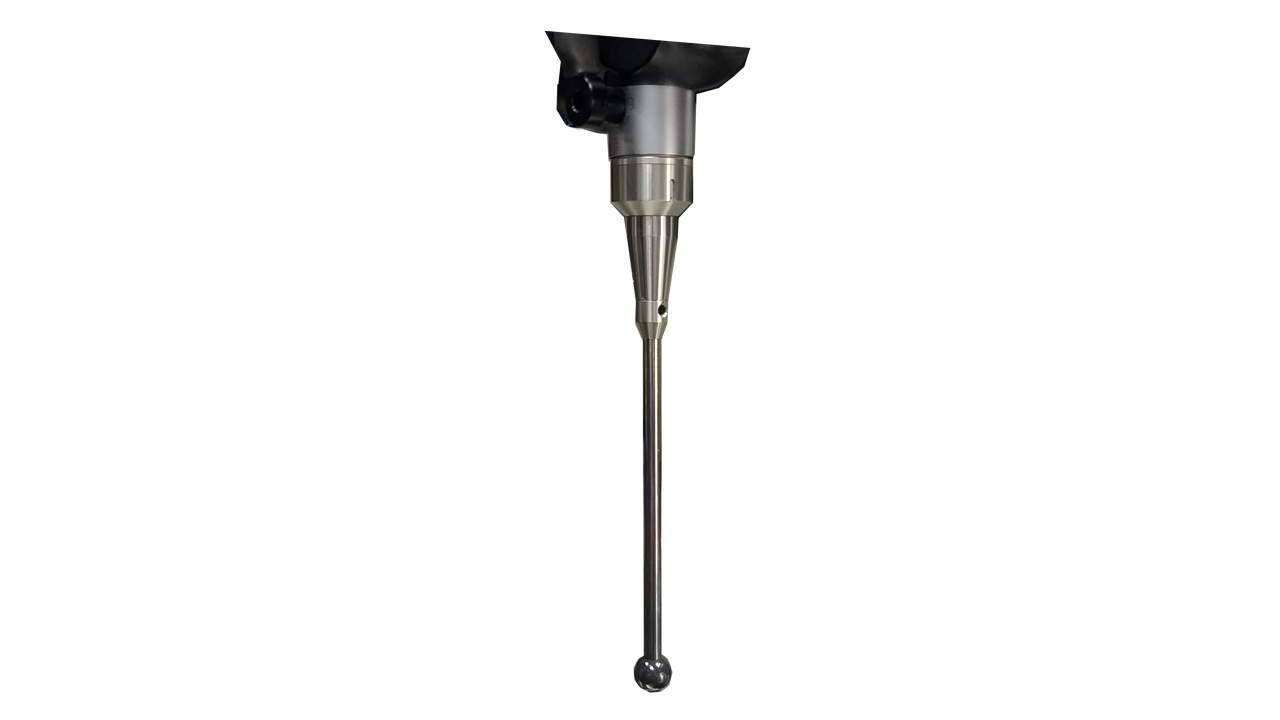
Probably the most important of all the CMM arm accessories are the probes. While “standard” probes are provided with arms at no extra cost, custom probes are certain to be required to measure certain shapes and features. Since each customer has different use-cases and have parts of size and shape peculiar to themselves, each user will need to purchase or fabricate custom probes of the size and reach necessary for the different situations they encounter. Probes will differ mainly by their lengths and styli ball diameter and material. The most common materials are ruby, stainless steel, ceramic, and silicon nitride. Also, the probe mounting feature will vary by OEM. A good option is for the user to obtain a probe base piece that can adapt varying probe shafts and styli to meet requirements as they emerge. Then they can be customized as needed.
A word of caution about probes with small styli, they can be fragile and easily damaged if not handled gently. Maintain firm control of the arm’s wrist taking care not to let the styli drop on a hard surface.
Fixture Plates and Modular Fixturing
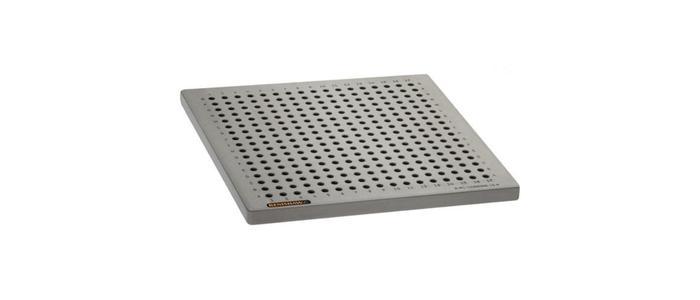
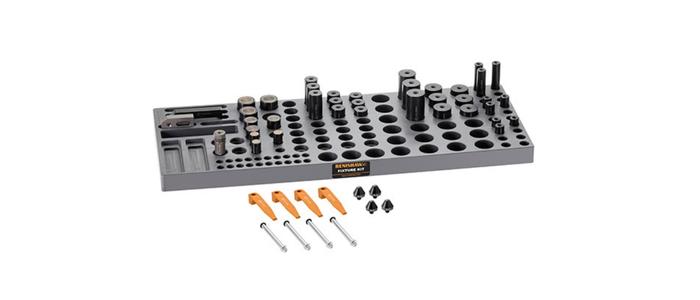
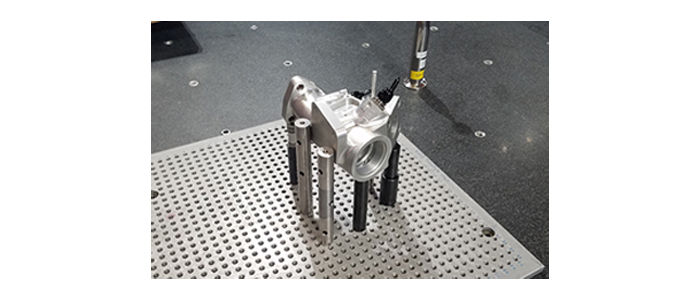
There are a few manufacturers of modular fixture plates, tools that are quite useful, versatile, and offer time and money savings. They have either threaded or slotted anchor points for spring arms, clips, and stacking elements that let you create quick mounting setups for your parts. These will hold the parts firmly in place but allow you to fix endless shapes securely on them.
Probe Calibration Sphere or Fixture
As with stationary, programmable CMMs (read “What is a CMM”), portable CMM arms need to be calibrated or “qualifed” to accurately locate the center of the probe ball. This is done when there has been a change in the probe itself, when a different probe is mounted on the device, when the probe’s accuracy comes into question, or as normal best-practices at the start of a measurement cycle. For the calibration, the device and probe need to measure a sampling of points, calculate a mathematical average, then locate, fix, and save the result to the measuring software. Certified qualification spheres are the common solution. Usually about 1 inch or 25 mm in diameter, affixed to a base that can be clamped firmly to a work surface. Alternative to the sphere concept is a fixture in which the probe can be firmly nested while the arm is rotated about the fixed point to gather calibration point samples. Whether it is a sphere or a fixture, probe calibration and regular use is an absolute must.
Device Relocation a.k.a. Leapfrog Tools
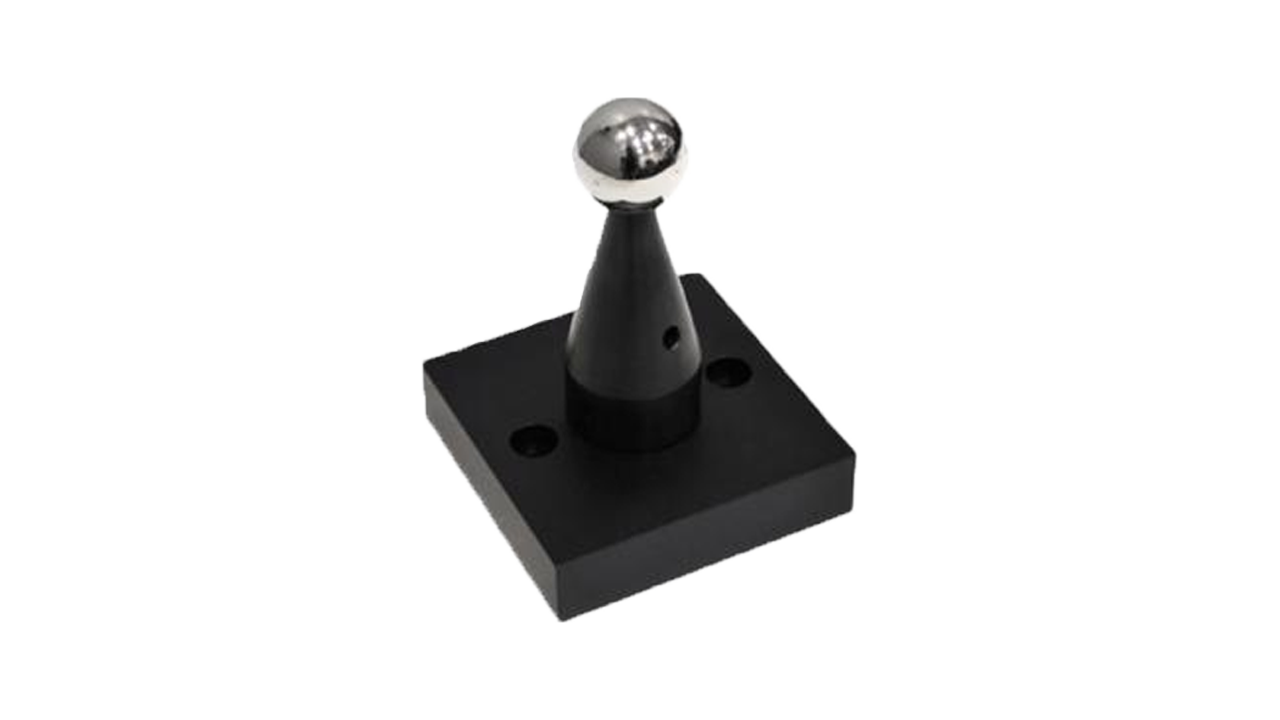
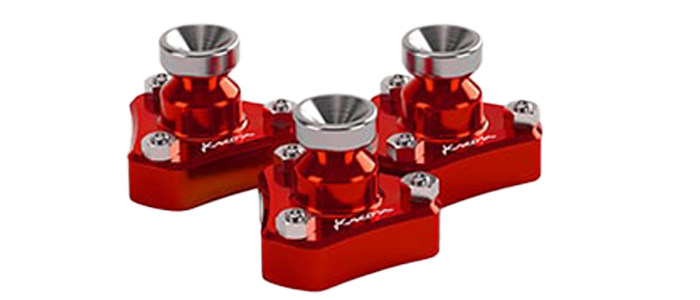
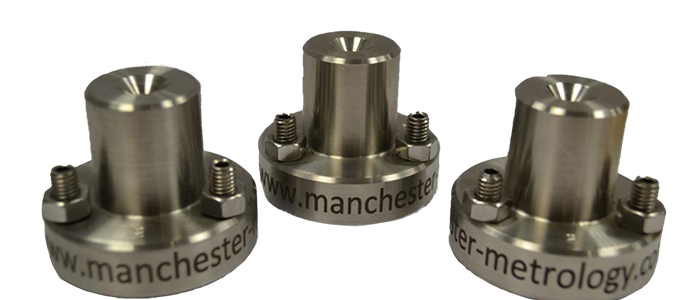
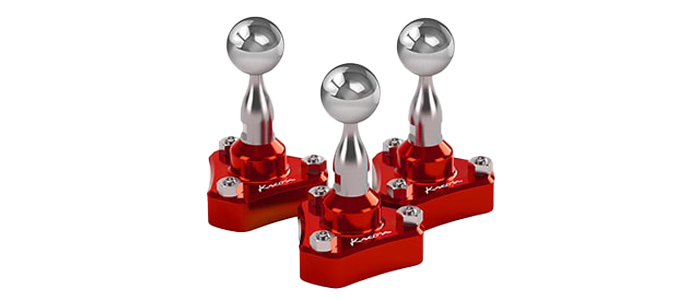
Portable CMM arms can be very effective at measuring large parts and assemblies, even those that are beyond the reach of the arm as mounted at the start of measurement. The term “leapfrog” commonly refers to the process of device relocation, a simple process of setting and measuring common points. These points are secured so that they can be reached from successive locations. Leapfrog cones and spheres are specifically designed for this task, and are available from OEMs of the arms and also from accessory manufacturers. Some operators may elect to make their own fixtures to do the job, or simply use holes, washers, or other means of nesting the arm’s probe ball tip securely for measuring the common points.
CMM arm accessories should be well maintained and protected from impact, accidental drops, adverse weather, and corrosive environments. All applicable items should be part of the arm’s annual calibration, and should also be assembled on the arm when accuracy checks are performed for each job or each work shift.

